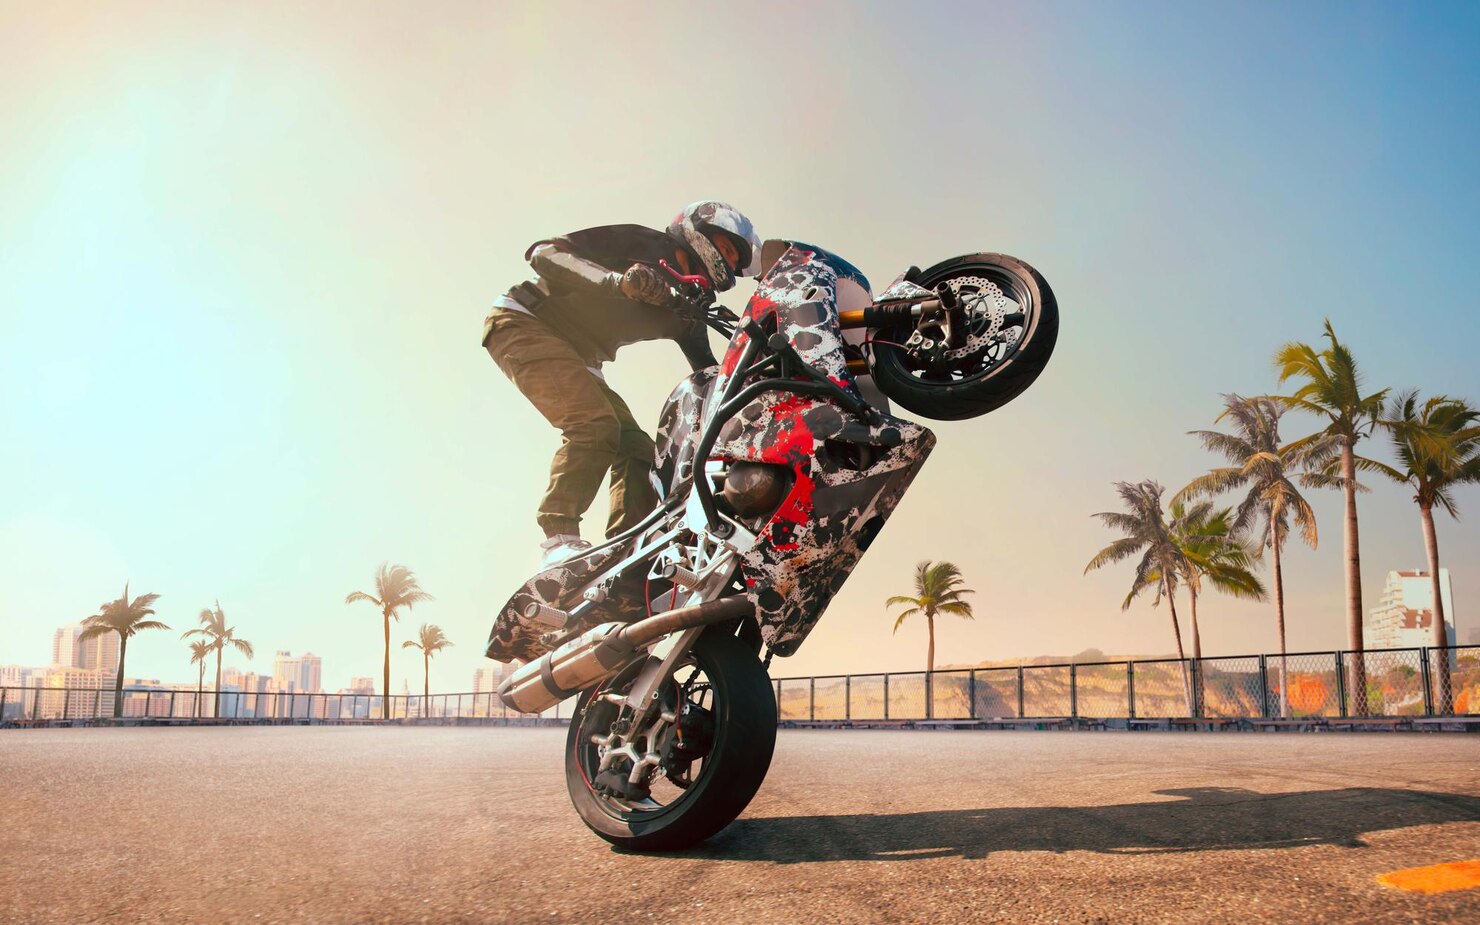
If you’ve already mastered the regular tricks like a wheelie, you’re probably ready to take the next leap into building a true stunt machine. I remember when I first started—all I had was a beat-up bike and a dream. This article will walk you through step by step on how to build a stunt bike that feels just right for you.
To build the perfect ride, you’ll want to dig into the details of what makes a stunt bike stand out. From selecting motorcycles that are suitable for intense tricks to choosing upgrades that even die-hard stunt pros would review with approval, every decision counts. Stick with this guide, and you’ll be on your way to mastering the art of the custom stunt setup.
Related: Mercury in Rohini Nakshatra
Which motorcycle is suitable for stunt riding?
When I first got into stunt riding, I didn’t have a big budget, so I had to make smart choices. The most popular bikes in the stunt scene are 600cc sports motorcycles, especially models like the Honda CBR 600F and the Kawasaki ZX6-R. These bikes, built between 2001 and 2006 for the CBR and 2003 to 2008 for the ZX6-R, are known for their powerful engines, great durability, and affordable purchase price on the second-hand market. The idle speed on these is ideal for doing no-handed wheelies, and that’s a huge plus when you’re learning balance tricks.
From my experience, the Honda truly is the king when it comes to long-lasting stunt setups. Mechanically and engine-wise, the 600F can take a serious beating. In contrast, the Kawa sometimes comes with ailments like cracked frames, broken block suspensions, or faulty gearboxes. Still, it’s a solid option if you’re careful. If you’re looking for an entry-level model, the Kawasaki ER-6 is decent, but it’s a 2-cylinder, which feels a bit less smooth at slow speeds. It might even stall or feel dead and braked during tight wheelies.
If you’re working with an even smaller budget, I’d recommend looking into early 90s bikes like the 1992–1998 Honda CBR 600F or the 1992–1999 Honda CBR 900RR Fireblade. These older bikes are surprisingly strong, even with high mileage and years of abuse. The only real disadvantage is they use carburetors, which sometimes stutter during high-angle stunts like 12 o’clock wheelies. Injection systems don’t have that issue. At the end of the day, you can convert nearly any motorcycle into a stunt bike, especially since most parts and modifications are easy to find for these models.
Modifications
Once you’ve picked the right bike, the next step is making the right adjustments to prepare it for serious stunts. I’ve learned from experience that even a standard bike needs some basic tweaks to truly withstand the kind of stress stunt riding brings. To ensure your setup can endure the constant impact and occasional violence of the sport, both physical and mechanical, you’ll want to focus on certain technical upgrades. These not only protect the bike but also make tricks possible that you simply can’t do without a proper build.
Related: How Much Does a BMX Bike Cost?
First things first!
When you’re doing long wheelies, your bike can get extremely hot. This happens because the radiator doesn’t get enough airflow while riding on one wheel. I’ve had moments where my engine almost overheated during a long session. That’s why installing a cooling fan you can control manually with a switch is essential. I usually turn it on when the temperature hits normal operating levels. Some riders even mount a 2nd fan for extra cooling power, and it makes a real difference when you’re deep into practice.
Another critical thing to focus on is oil circulation. During 12 o’clock wheelies, the oil tends to move away from where the pump can reach it. If the crankcase goes dry, that’s game over for your engine. Some riders simply add a bit more oil, but I recommend installing a proper pickup mod. It works by adjusting the suction of the pump to pull oil from the back of the crankcase, where it pools during stunts.
Making a motorcycle crashproof
Once you start pushing your limits in stunt riding, you’re bound to take a fall at some point—it’s just part of the journey. That’s why proper protection is not just helpful, it’s essential. The models we’ve talked about in this article often have great aftermarket gear available, including tough crash cages designed to withstand impact.
Unlike the simple bracket you might see on driving school motorcycles, a real crash cage should have sufficient strength and be mounted with multiple suspension points. A strong cross connection between the left and right sides adds even more stability.
I’ve tried different shapes and sizes of cages over the years, and I personally prefer a setup that isn’t too wide. A cage that sticks out too far increases the risk of hitting the ground while drifting, which can cause an unexpected knock and possibly send you crashing.
12 o'clock bar
Once you start pulling wheelies really high, your bike can go nearly vertical—that’s what we call a 12 o’clock position. If you’re doing this on an original setup, the rear light might switch on or even break, which is something you want to avoid. That’s where 12 o’clock bars come in.
This special bracket is built to mount at the back of your bike and adds a layer that protects your tail. It’s got more than one use, too. You can place your foot on it for standing tricks, and there’s a cool third advantage—it lets you scrape the bar on the ground, kicking up a shower of sparks that looks amazing in action.
Some people think the bar will stop you from stalling or flipping while practicing, but it only touches down once the bike is already fully vertical. In truth, doing a 12 o’clock stunt is an advanced move that takes serious balance and control. Without the bar, though, the risk of damage increases a lot when you’re learning.
Related: When is Arizona Bike Week?

Subcage
A subcage is one of those smart upgrades that serves a double purpose on your bike. First, it adds extra fall protection by reinforcing the rear, so it protects your frame during rough landings. Second, it replaces the often weak passenger footpegs, giving you a stronger platform for all kinds of stunts.
You’ll find both steel and aluminum options on the market—while steel is tough, the aluminum ones, especially the cnc milled versions, are much lighter. Though a bit more expensive, the advantage of this variant is that it’s often adjustable to fit your personal liking, which I’ve found super useful when dialing in my setup for comfort and control.

Gears
When setting up your stunt bike, adjusting the gear setup is one of the first things that makes a huge difference. Many motorcycles come with a standard gear ratio like 1:3, which means a 15-tooth front sprocket and around 45 teeth on the rear. For stunt riding, though, that setup doesn’t give you the low-end control needed for smooth, slow wheelies. The ideal ratio is closer to 1:4—for example, 15 in the front and 60 or even 65 in the back. This setup makes your engine rev higher at lower speeds, giving you more control and helping you avoid stalling or having to brake the bike to death mid-trick.
It’s true that a larger sprocket gives your rear wheel more acceleration, and yes, it feels faster, but that’s not the only benefit. The real magic happens when your bike stays steady through the stunt, and the throttle feels responsive at high idle. I’ve tried multiple combos over the years, and when you mount the right sprocket, everything just clicks. If you want to go even further, you can order custom, matching sprockets and chains with the correct number of links, and assemble it all yourself. Just make sure you’ve got the right tool to riveted the chain securely.
One last tip—don’t forget to install a sharkfin. This small but important protective plate sits at the bottom of the swingarm and prevents your fingers from getting caught between the chain and sprocket during a spinning fall. Trust me,
Idle speed
If you want to perform no-handed wheelies with real precision, you’ll need to raise the idle speed of your engine to around 3,000-4,000 rpm. This allows you to take your hands off the bars while maintaining steady balance and full control. Most models come with a standard idle screw, but a small adjustment is needed.
By default, this screw adjusts the gas mixture slightly, but for stunt use, we want it to directly operate the throttle valves. This modification lets you fine-tune the idle as much as needed, giving your bike the exact power delivery to keep it steady during a stunt.
Less engine braking is another bonus of tuning your idle, which helps keep the throttle more constant during balance tricks. If you’re unsure how to set this up, just type the search term “idle mod” on Google along with your bike’s model—it’s all out there.
Send
When doing wheelies, your seating position makes a big difference in how stable and confident you feel. Many motorcycles come with clip-ons as standard, which push your body forward in a bent stance. For stunt riding, this isn’t ideal, which is why they’re often replaced with cross handlebars or stunt clip-ons. I prefer crossbars because they’re wider, giving a more upright posture and better control.
Stunt clip-ons are also great since they’re adjustable in angle and height and usually let you keep your throttle and clutch cables. But if your bike originally had clip-ons, you might need to modify the triple clamp, and sometimes the original cables aren’t long enough either.
Clutch lever
One small adjustment that makes a big difference in stunt control is the clutch lever. Switching to an easy-pull clutch lever is a smart move—it’s shorter, feels around 50% lighter, and gives you much quicker control. When you pull a wheelie hundreds of times a day, that lighter feel isn’t just comfort—it’s a real luxury.
One big advantage is that you can operate the clutch with just 1 finger, keeping better grip on the handlebars with the others. Especially when riding at raised idle, you want that single-finger control ready in case you need to intervene quickly if something goes wrong. You definitely don’t want the bike to take off without you.
The final reason to fit a short clutch lever is if you’re running it in combination with a handbrake. This way, you can use both at the same time, each with one finger—super useful during tight trick situations or slow wheelie balance.

Handbrake
A handbrake is a game-changer when it comes to stunts that just aren’t possible on a standard bike. While the rear brake is already essential for wheelies, relying only on the foot brake can be limited, especially when you want to get creative. The solution? Add a handbrake on the handlebars so you can swing your legs around or stand on the seat while still keeping controlled braking.
You can mount an extra brake caliper at the back or use a loop-through system that connects the original foot and hand controls. The loop-through is cheaper but comes with disadvantages—especially during intensive sessions when things get hot.
One advantage of having 2 calipers is better heat management, since the pressure is distributed. Most stock setups use a 1 piston caliper, which is sufficient for the foot but not ideal for a hand setup where you use just 1 finger—usually the middle one. That’s why many riders go for a copy with more bite and force, often using series calipers for extra stopping power. To support this, you’ll need an adapter plate or bracket that replaces the original brake mount, and possibly upgrade to a radial disc and brake for better braking power.
To get optimum dosage, a radial pump is the best option. These come in different diameters, with smaller ones giving better control and larger ones offering more power. Common sizes are 13mm and 16mm, and don’t forget the brake line—you’ll need one that runs from the handlebars to the rear, usually around 2 meters in length. Make sure to measure accurately so you don’t come up short during your build.
Related: Top 15 Best Motorcycle for Wheelies
Gasoline tank
If you want to do wheelies while sitting on the tank, you’ll need to modify it to make it safer and more comfortable. A standard fuel tank is usually convex, which means you can easily slide off while trying to sit or stand on it.
Some riders dent the tank using a rubber mallet, but this method takes patience—go too hard, and the tank might crack. A cleaner option is to have a piece welded in so you can model the shape exactly how you like it. This way, you can create a raised edge that helps you lock into position during tricks.
To finish it off, you can add a tank grip—a layer of self-adhesive foam like the kind used on surfboards. This gives extra grip, helping you stay in place without sliding during tight maneuvers.

Frame
Some models of stunt bikes are more prone to frame cracks, especially near the engine block mounting points. That’s usually where fall protection is also mounted, so during falls, these areas can take a real beating. Many of the original frames are made from aluminum—which is lighter, but also weaker than steel. That’s why replacement steel frames are a common upgrade in serious stunt setups. A tube frame design may be heavier, but it’s much stronger and holds up better under pressure.
You can go for a half frame, where the front part is sawn and replaced, or a full frame that replaces the entire structure. Don’t forget the rear section either—your sub frame can also be swapped for a steel version, which is highly recommended if you do a lot of 12 o’clock wheelies.
Full fairing or naked?
Once you’ve got all the requirements to build the perfect stunt bike, there’s one last question to answer—should you go with full fairing or keep it naked? A bike with full fairing definitely looks more cool and closer to a standard street bike. But if you’re just starting out with stunt riding, it might not be the most suitable choice. When you’re learning, your bike will hit the ground more often, and that can lead to broken parts or damage you’d rather avoid.
A naked setup, or what some call the streetfighter look, is usually better for beginners. If you do go for full fairing, you can still mount a stunt stay—a strong bracket that helps attach the fairing to the frame. This is especially helpful because during hard landings from wheelies, the original bracket might break off. I’ve tried both setups, and while the fairing looks great, the naked version gave me more peace of mind while learning the ropes.

Conclusion
Whether you’re a total beginner or an advanced rider aiming to become a true wheelie master, this article has discussed all the key tips to take your stunts to the next level. A stunt bike might seem full of secrets at first, but once you start building and learning, it all becomes clearer. Hopefully, you found the guide interesting, and it helps you move closer to crafting the ultimate ride tailored to your style. With the right setup and mindset, no stunt will be out of reach.
Related: 19 Best dirt bike trails Texas
Related: 14 Best dirt bike trails in Oklahoma