From my personal motorcycle experience, I can confidently say that restoring an old motorcycle is one of the most rewarding projects you’ll ever tackle. There’s something deeply therapeutic about finding a 20-year-old bike, rolling up your sleeves, and tinkering with it little by little, each day bringing it closer to its prime condition.
At ChiceBike, we’ve spent years putting together this definitive guide on how to restore an old motorcycle. Here, you’ll find practical tips we’ve carefully compiled and personally reviewed, ensuring your old bike will run smoothly again.
Find the Right Project
When planning your first motorcycle restoration project, carefully consider the type of bike you’re comfortable tinkering with. From personal experience, I’d strongly recommend starting with a Japanese motorcycle, since these are known for simpler design and affordable parts. If you’ve already settled on a particular model, you can easily skip this advice, but if you’re still deciding, avoid jumping into an old European bike right away.
They’re usually more expensive, often require specialist parts that can be harder to find, and can quickly become overwhelming if it’s your first rodeo. To put your mind at ease, opt for a bike that’s still running—it’ll simplify the process, build your confidence, and make the journey far more enjoyable.
Check your space
Before you even start working on your bike, make sure you’ve got a decent workspace. From experience, there’s nothing more dispiriting than realizing there isn’t enough room to comfortably move, dealing with poor light, or constantly losing tools and parts in a cluttered mess. Ideally, aim for at least a single garage or similar dry space. Trust me, a small heater is absolutely worth having, especially in the winter—otherwise, you might find yourself tempted to forget the whole thing when temperatures drop.
Find the Service Manual
If you’re planning to restore your bike, one of the most essential steps is finding a copy of the service manual for your particular model. In my experience, this manual acts as a comprehensive, step-by-step guide, clearly showing you how to maintain and work on every part. Even if you think you know the bike well, the manual will save you from common mistakes and headaches down the road—trust me on this one!

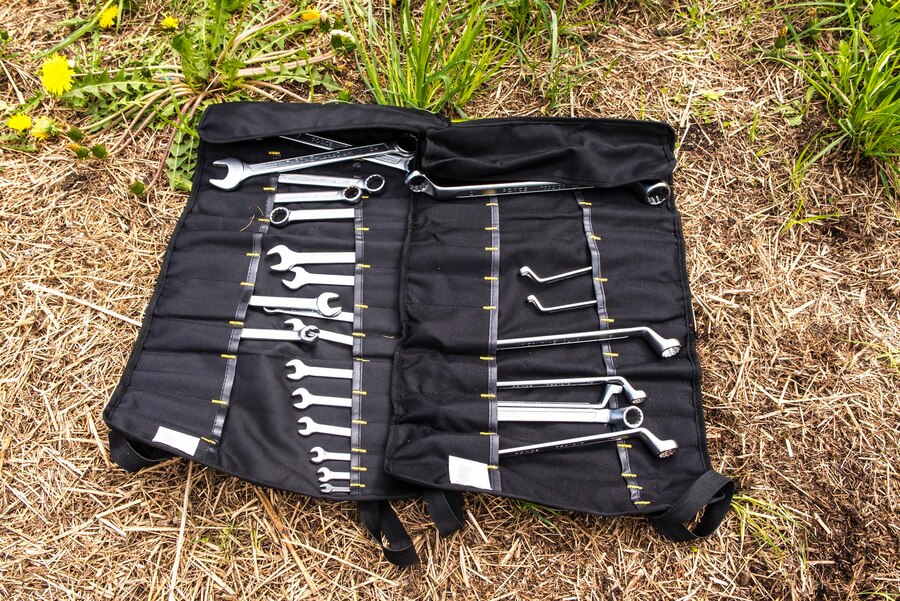
Acquire a Basic Toolbox
It’s always a good idea to take stock of the tools you already own before jumping into your motorcycle restoration. You’ll need to acquire a standard toolbox if you don’t already have one. From experience, a reliable set should include wrenches, various screwdrivers, sockets, and even an angle grinder—trust me, these will come in handy more than you realize. Don’t forget to carefully check that everything is in quality condition, because having the right tools ready makes any task smoother and much less frustrating.
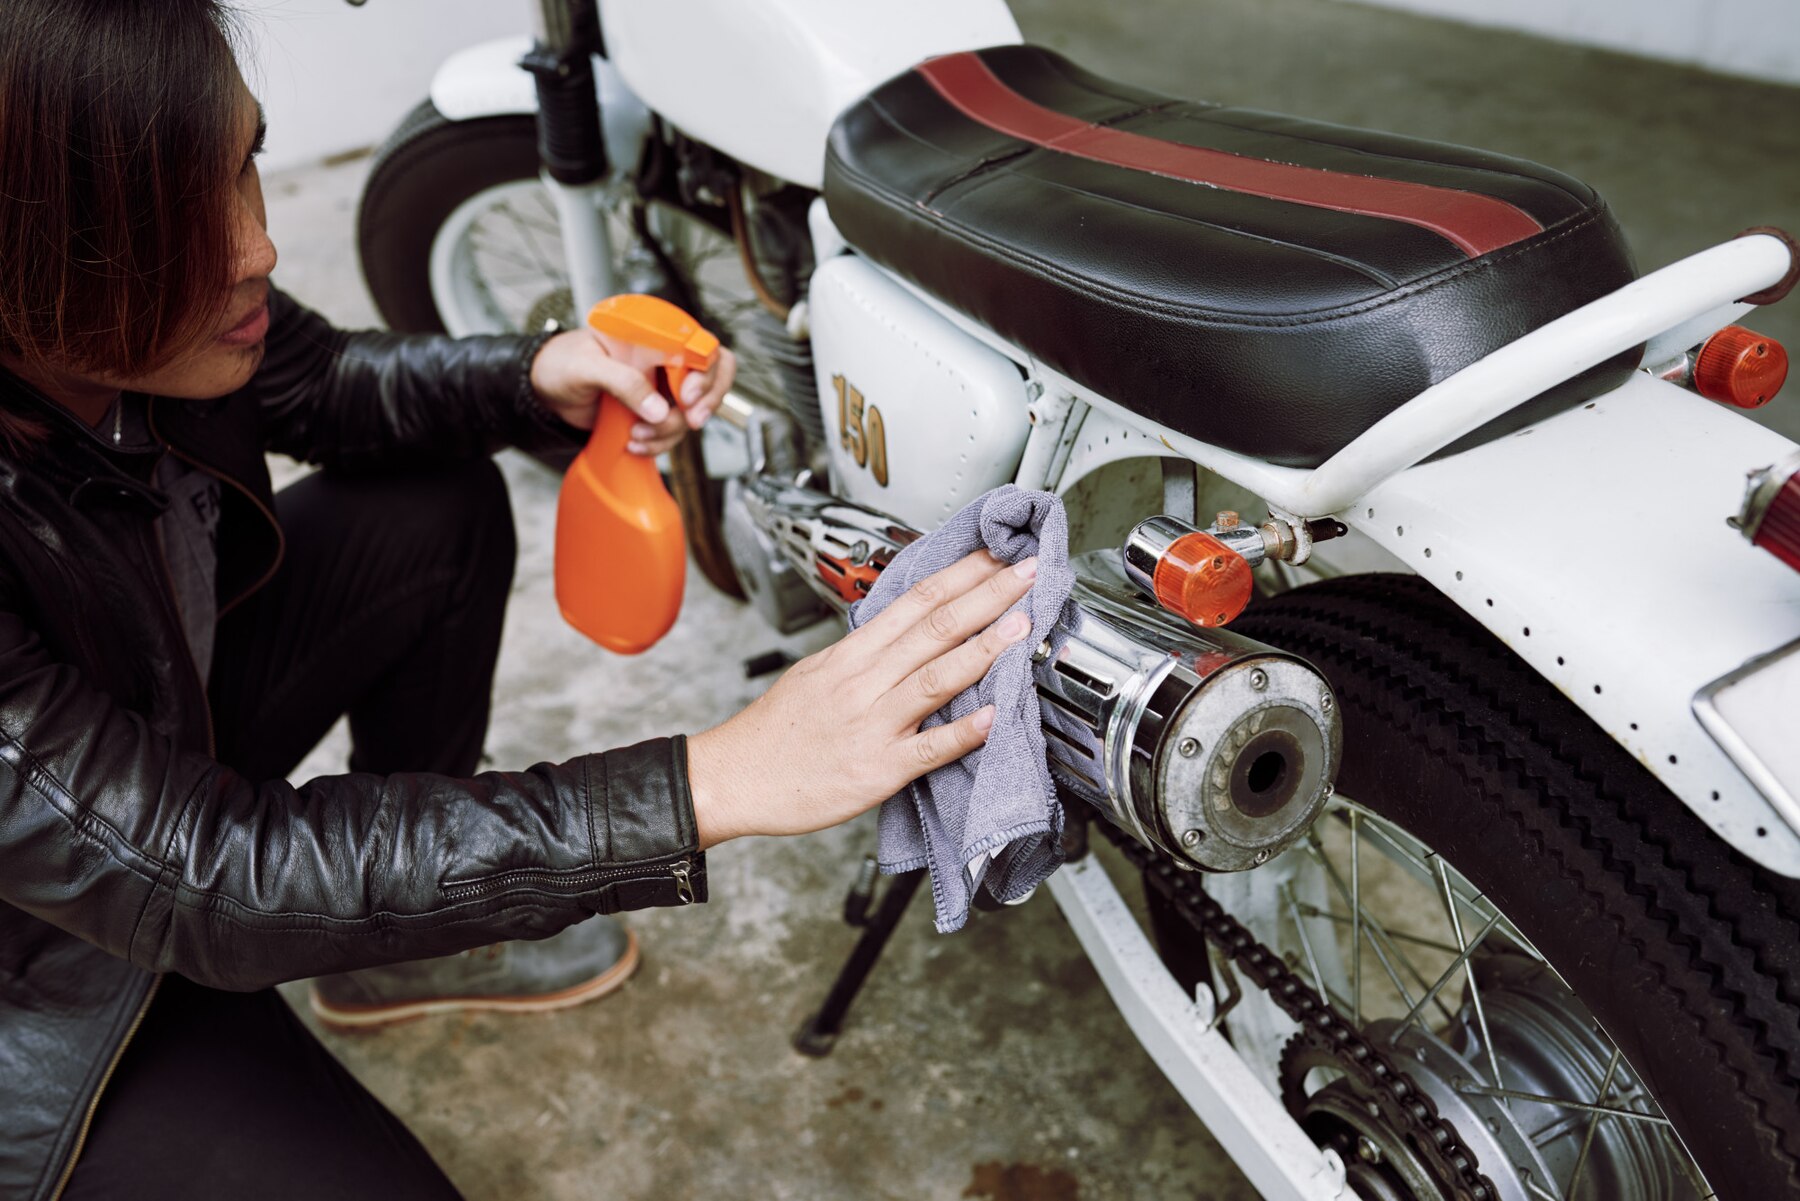
Equip Yourself with Fluids
After making sure you have the necessary equipment, you need to stock up on essential motorcycle maintenance fluids, including bike cleaner, engine oil, and brake liquid.
Invest in a Motorcycle Lift or Stand
To make the restoration process easier and save strain on your back, you may wish to invest in a suitable motorcycle lift or stand, if your budget permits it.

Buy a runner
If you’re tackling your first resto-lite, it’s wise to make your life easier and buy a runner. From personal experience, choosing a bike that needs a simple fix, like clogged carbs, a clogged fuel filter, or even a dodgy kill switch, is always better than taking on a full engine rebuild or a complete rewire. Occasionally, you can grab a fantastic bargain from an owner who’s thrown in the towel, but be careful—even if you’re confident, it’s often worth spending a few extra quid upfront rather than getting stuck with something that could drive you nuts for months.
Check it’s not stolen
Before you spend months bringing back your bike to life, you should carefully check its paperwork to avoid the worst case scenario: realising after spending all that effort, you don’t even legally own it. Start by verifying that the VIN plate on the headstock and the engine number match the registration document, and confirm they haven’t been altered. It’s wise to inspect genuine examples of your model beforehand, so you know exactly how a legitimate set of numbers should look. A quick check now can save you from headaches and paperwork issues later on.
Join a forum
When you’re diving into your motorcycle restoration, I’d strongly suggest tapping into the wisdom of online forums. A good forum is usually crammed full of experienced enthusiasts who’ve already discussed common problems you’ll face with your bike and have offered practical solutions. From personal experience, joining these communities has helped me shave months off my own resto, saving me from costly mistakes. Connecting with a knowledgeable community is one of the smartest shortcuts you can take.
Begin & End with the Tank
When restoring a motorcycle, it’s best to begin by removing the motorcycle tank, and only putting it back once all other work is complete. Speaking from experience, you’ll want to avoid the frustration of creating extra tasks or causing further damage by accidentally scratching a freshly painted tank. The last thing you’d want is to finish putting back your beautifully painted tank only to realize you’ve still got repairs left, risking unnecessary damage. Carefully handling the tank at both the start and the end of your project will save you headaches and protect your hard work.
Check the Battery
It’s likely that the battery on an old motorcycle is worn out. Checking the battery’s condition should be one of your priorities; if the voltmeter reads less than 12V, it’s most likely kaput.
Restart the Engine
One of the most important steps in your motorcycle restoration process involves carefully checking and rebuilding crucial components like the carburettor and ignition system. You’ll also need to focus on the basics: changing the air filter and ensuring the static timing is set correctly. From my own experience, these important steps will determine how smoothly your bike runs in the end, making the whole restoration process feel truly satisfying once the engine fires up again.
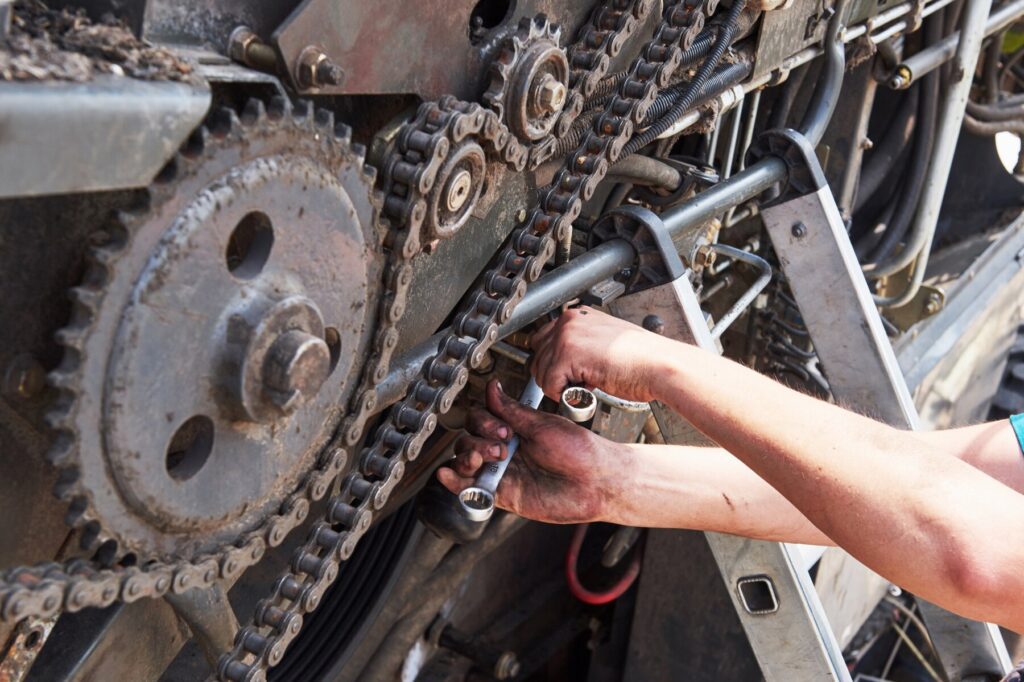
Replace the Chain
If your bike has been sitting unused for a long time without proper maintenance, there’s a strong likelihood you’ll need to remove and replace the chain. Although it’s possible to repair the existing chain if it’s not too badly rusted, I’ve learned from experience it’s usually easier and safer to purchase a new one. Removing an old, rusted chain and installing a new one makes the task simpler and helps you avoid problems later on.
Be Certain What Wires You’re Cutting
Before you cut any wire, it’s important to know exactly what it does. I strongly recommend labelling wires and checking where each one leads before making any changes. If your fuses keep blowing, it’s a sign that two wires might be crossed. Taking the time to double-check can save you from frustrating electrical issues later on.
Related: How to stop squeaky brakes on a bike
Change the Tires
Even if they appear to be in decent shape, riding on tires older than six years is regarded as extremely unsafe. By searching for the four-digit manufacturing date engraved on the side of your tires, you may determine how old they are.
Clean and plan
Before working on your bike, give it a deep clean to remove dust and muck, revealing its true condition. Next, set up a whiteboard in your shed and jot down tasks in broad categories like electrics, fuel supply, chassis, and brakes. This helps you create a shopping list for parts and tools required at each stage. However, don’t rush to buy everything at once—it can clog your space, and you might forget where things are when needed. Since jobs often vary, take your time to run through the obvious fixes first.
Take photos and be organised
During the stripdown, make it a habit to start photographing everything, especially the wiring, so you don’t lose track of where things go. File all bolts in labeled plastic bags and scribble important notes on them, such as “don’t forget the bolt under the lower fairing panel.” This simple trick will save you huge amounts of time when reassembling everything later.
Related: Coaster Brakes vs Hand Brakes
Check the carbs
When working on older bikes, the number one culprit behind a non-running engine is often the carbs. Even if your bike is a runner, it’s still worth cleaning it to ensure peak performance. Your manual will guide you through the process—typically, you’ll need to strip them down, assess their condition, and clean them thoroughly using carb cleaner. If necessary, be prepared to rebuild them and buy new gaskets and jets for a smoother ride.
Check the fuel tank
If your bike has been sitting for years, there’s a good chance the tank is rusty on the inside, and you don’t want that flushing into your clean carbs. Start by emptying the tank, then chuck in some nuts and bolts and give it a good rattle to loosen the rust. Once most of the debris is out, use a fuel tank cleaner to get rid of any remaining buildup, ensuring a smooth fuel flow.
Deal with rust
Check for rust on the frame while removing the carbs and tank. After sanding it to bare metal, refinish it.
Spark plugs
Replace them as they’ve likely been there for years.
Brakes
On old bikes, the calipers and pistons often need attention, so start by pumping them out and checking the seals—most of the time, they’re worn out. Next, drain the old fluid and check the pads—they might still be usable, but don’t bank on it. Once everything is in place, refill the system and bleed the brakes to ensure smooth and safe operation.

Consumables
Replace the tires, check the chain and sprockets, and check the oil.
Cosmetics
Achieving a high level of perfection in your bike’s look depends on how much effort you put in. Small scratches can be filled and touched up, or if you want a fresh look, a full respray is an option. If you prepare carefully, you can get a decent finish even with rattle cans. Just don’t forget to apply a two-part clear coat on top, as spilt petrol can dissolve your paintjob if left unprotected.
Related: Convert Mountain Bike To Electric
Sell parts
What individuals will pay a lot of money for on eBay will astound you. Before putting old exhausts, saddles, fairing panels, and other items in the trash, try selling them.
Give up and use a mechanic
“If initially you fail to succeed, try, try again,” as comedian and raconteur WC Fields once remarked (maybe about a challenging CB750 rebuild). Then give up. Being a complete idiot about it is pointless.
Related: Why Are My Bike Brakes Squeaking?