Finding the perfect gravel bike tire pressure is all about balancing comfort, performance, and control for your ride. Your tire choice plays a huge role, but pressure is the key variable that directly impacts how your bike handles the unique challenges of trails. Every rider will have a specific sweet spot, depending on their terrain, weight, and preferences, but getting into the right ballpark is simpler than it seems. Drawing on insights from WTB’s guidance, adjusting and optimizing your pressure can make a real difference, transforming your gravel adventures into smoother, more enjoyable experiences. Don’t overlook trusted opinions from experts and your favorite brand as you explore what works best for you.
The Basics of Bike Tire PSI
Pneumatic tires are supported by pressurized air within an airtight chamber, and the amount of PSI (pounds per square inch) determines how they feel. Higher PSI makes the tire feel harder, offering less rolling resistance, while lower PSI softens the tire, improving grip and comfort. Regularly checking tire pressure is a key part of bike maintenance, as it directly impacts how your bike will perform on different terrains. Whether you’re into cycling on the road, mountain, gravel, or cyclocross bikes, understanding how to adjust PSI is essential for an optimal ride.
The ideal tire pressure depends on various factors, including your weight, the width of your tire, and your riding style.
Recommended gravel bike tire pressure
| Measured Tire Width (mm) | System Weight (kg) | Suggested Front Tire Pressure (psi) | Suggested Rear Tire Pressure (psi) |
|---|---|---|---|
| 35 | 65 | 36 | 38 |
| 36 | 75 | 37 | 39 |
| 37 | 85 | 38 | 40 |
| 38 | 95 | 39 | 41 |
| 39 | 105 | 40 | 42 |
| 40 | 65 | 29 | 31 |
| 41 | 75 | 30 | 32 |
| 42 | 85 | 31 | 33 |
| 43 | 95 | 32 | 34 |
| 44 | 105 | 33 | 35 |
| Measured Tire Width (mm) | System Weight (kg) | Suggested Front Tire Pressure (psi) | Suggested Rear Tire Pressure (psi) |
|---|---|---|---|
| 45 | 65 | 24 | 26 |
| 46 | 75 | 25 | 27 |
| 47 | 85 | 26 | 28 |
| 48 | 95 | 27 | 29 |
| 49 | 105 | 28 | 30 |
| 50 | 65 | 19 | 21 |
| 51 | 75 | 20 | 22 |
| 52 | 85 | 21 | 23 |
| 53 | 95 | 22 | 24 |
| 54 | 105 | 23 | 25 |
When it comes to setting the right pressure for your gravel bike tires, there’s no one-size-fits-all solution. Many manufacturers provide specific recommendations or even calculators to help riders determine the ideal pressure based on their weight and tire width. After inflating your tire, it’s always worth measuring the actual size since wheels can vary in rim widths, causing the tire to appear narrower or wider than the size stated on the sidewall. This difference is crucial, as a wider inflated tire width might require slightly less pressure, whereas a narrower width might need more.
It’s also important to stay within the recommended upper limit set by the rim and tire manufacturers, which can usually be found on the rim or sidewall. If your wheels have hookless rims, the maximum permitted pressure will typically be lower than that of hooked rims, so double-check before heading out. The table of recommended pressures for different system weights and widths can serve as a helpful starting point, but these are just general guidelines. Every ride is different, and some experimentation may be needed to find what works best for your setup.
Lastly, always remember to check your pressures before every ride, as tires naturally deflate over time. Based on personal experience and feedback from trusted brands, regularly monitoring your pressure can make a noticeable difference in performance and comfort. It’s all about finding the balance between durability, grip, and speed for a smooth gravel adventure.
Other key points to consider
Before diving into the details, it’s important to understand the importance of correcting the pressure in your gravel bike tires.
Why is gravel tyre pressure so important?
Setting the optimal tire pressure for gravel riding is essential for making your rides more comfortable and improving your grip on various terrains. A properly adjusted pressure not only reduces the risk of puncturing but also helps your bike handle the trail better by letting the tires react smoothly to changes in the surface. As WTB explains, adjusting your pressure allows you to fine-tune how your bike reacts to different terrains, ensuring the best performance while also optimizing rolling resistance, which is how much energy your tires absorb as they roll. This can save effort and improve overall comfort during your ride.
If the tire pressure is too low, your effort increases as more energy is lost to deformation and friction between the casing and the ground. This can lead to potential sidewall or rim damage and may cause your tire to squirm or even “burp” if you’re running tubeless tires. A “burp” happens when the tire bead temporarily separates from the rim, expelling air. On the other hand, having your pressure set too high transfers more vibrations from the road or trail to your hands, causing discomfort and wasted energy. Additionally, an over-inflated tire is more likely to slide out on loose surfaces like rocks or roots, and it struggles to deform over trail imperfections, making it slower overall.
To avoid these issues, find a balance that reduces risk, increases comfort, and keeps your tires gripping the terrain effectively.
Harder does not always equal faster
While it might seem that high tire pressures make your gravel bike feel fast, this is not always true, even on the road. Increased pressure can actually decrease grip and lead to high-frequency vibrations, causing muscular fatigue over time. As WTB suggests, if you’re unsure about the right setting, it’s better to start with slightly firmer tires and gradually drop the pressure in small increments until it feels right. This approach avoids the hassle of having to stop mid-ride to inflate your tires with a mini-pump, letting you focus on enjoying your ride instead of dealing with discomfort.
Related: what is coaster brake bike?

What you’ll need
To get the most out of your gravel bike tire pressure, it’s essential to have a few tools on hand. A good-quality track or floor pump with an in-built pressure gauge is a great place to start. While you don’t need the most expensive option, investing in the best tools you can afford will save you hassle in the long-term. For those who want to fine-tune their tires even further, a dedicated tire pressure gauge works wonders and ensures accurate adjustments for optimal performance and comfort.
How to choose the right gravel bike tyre pressure for you
When it comes to gravel bike tire pressure, the right settings depend on a mix of factors unique to your riding style and terrain. The recommendations provided are meant to serve as general starting points, giving you a baseline to work from. Once you’ve got something that feels close to ideal, start experimenting to fine-tune the setup to your needs. Adjustments to pressure can make a big difference in comfort, grip, and control, so don’t hesitate to try small changes as you ride.
Tire and rim width
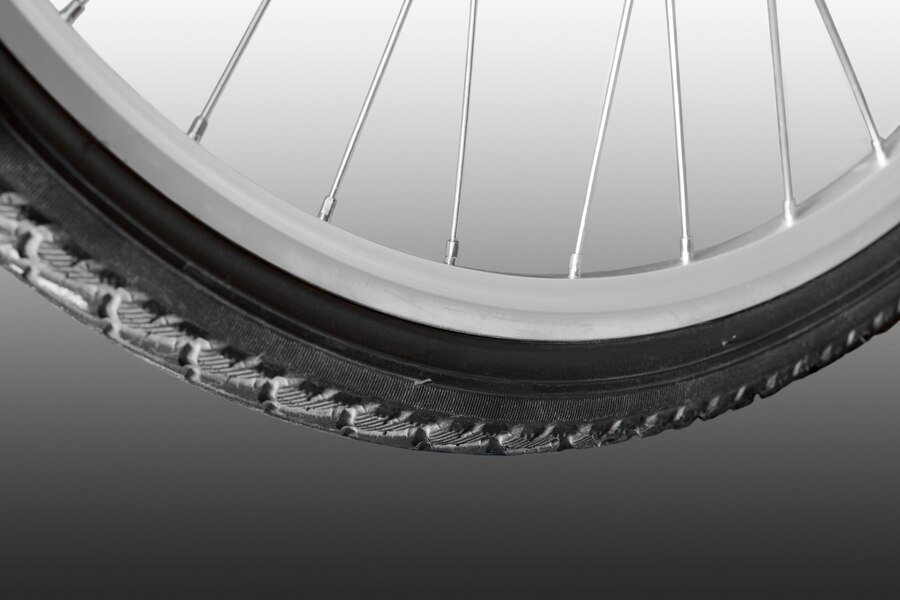
Understanding the relationship between tire and rim width is crucial for calculating the optimum pressure and ensuring the best performance. While tires may be labeled a specific size, their actual inflated size depends on the design and internal rim width of the wheel. Using digital vernier calipers is an accurate way of measuring the tire width and helps in determining the ideal setup. A mismatch between wider or narrow tires and rims can significantly alter the shape of the tire, often leading to a lightbulb-shaped profile or a too-square tire, both of which require pressure adjustments.
For example, a wider tire on a narrow rim may need to be inflated to a slightly higher pressure to avoid squirming during cornering, whereas a narrow tire on a wide rim might need a different adjustment. If you’re unsure about compatibility, the ETRTO 2020 standard provides a solid starting point for matching tire and rim width effectively.
Related: What is a Clincher Bike Tire?
| Internal Rim Width (mm) | ETRTO Recommended Tire Range (mm) |
|---|
| 21 | 29-34 |
| 23 | 35-46 |
| 25 | 47-57 |
The tire itself
Every tire is unique because manufacturers use different construction methods and materials. When fitting a new tire of the same width, it’s important not to assume that the same pressure will be optimal. For example, WTB, a popular brand, recommends a pressure range based on an average rider weight of 160 to 180lb, but this might not apply to other brands. Always check the specific recommendations for the tire you’re using to ensure the best performance and safety.
Rider and system weight
The weight of the rider plays a significant role in determining the right tire pressure for your gravel bike. A heavier rider will need to run higher pressure, while a lighter rider can use less. However, the total system weight also matters. This includes the bike, any kit or equipment, and even bags you carry for a backpacking trip. For instance, if your gravel bike is loaded with extra gear, you’ll need to add more air to your tires to maintain performance and avoid issues on the trail.
According to WTB, adjusting tire pressure is similar to fine-tuning suspension on a mountain bike. As a general guide, they suggest adding 2-3psi for every 4.5kg (10lbs) of extra weight. Keep in mind that weight is rarely evenly distributed between the front and rear wheels, with the rear wheel typically carrying a greater load. To balance the ride, run slightly lower pressure in the front tire for improved grip and comfort.
Terrain
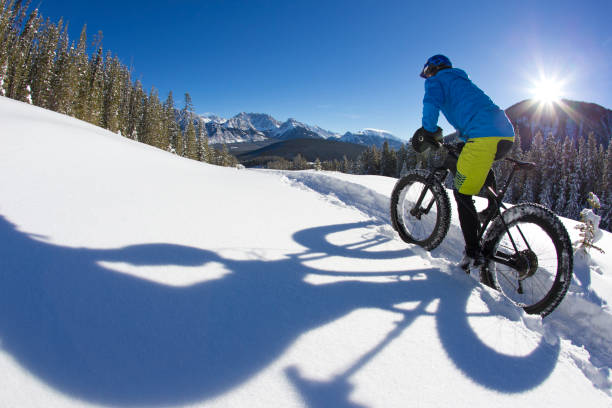
The terrain you ride on plays a major factor in determining the optimal gravel bike tire pressure. On smooth surfaces, running a higher pressure will usually make your ride faster. However, for wet, rooty, or off-road trails, you’ll need lower pressures to improve grip and comfort. Switching to a wider tire increases the volume, giving you more control over uneven surfaces. For a mix of terrains, WTB recommends an intermediate tread paired with an intermediate pressure to balance speed and stability on varied paths.
Related: How Much Are Bike Tires?
Tubeless
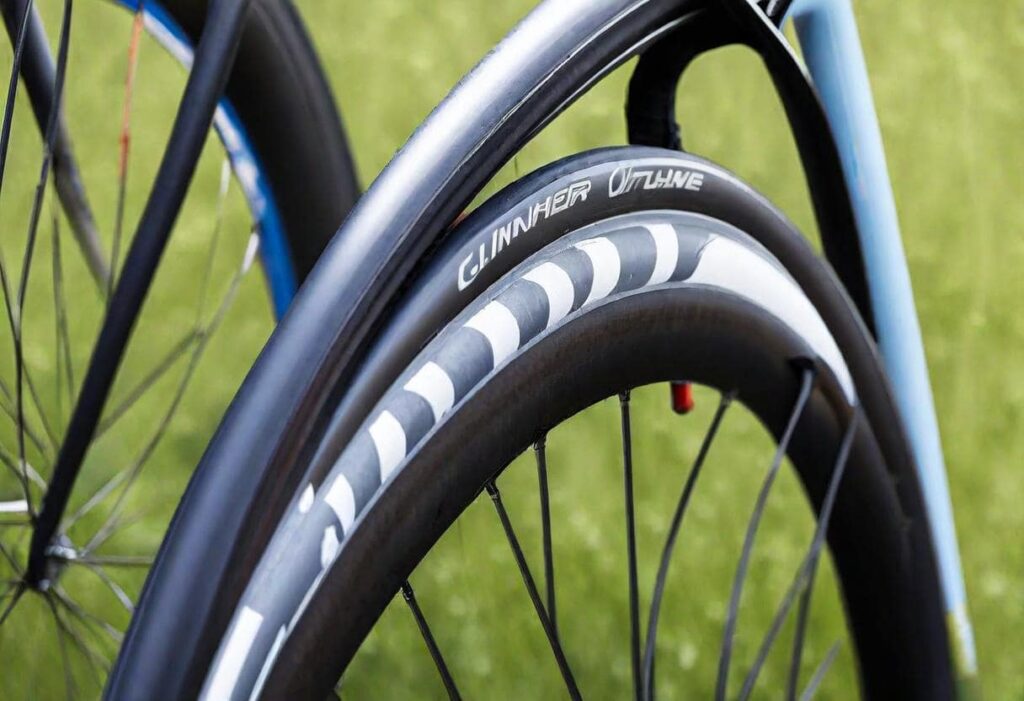
Many high-end gravel bike tires are designed to be run tubeless, offering several advantages over traditional inner tubes. By removing the inner tube, you can run lower pressures, which reduces the chance of pinch-flatting and improves both grip and comfort. While the printed pressures on tires are often meant for setups with inner tubes, running tubeless allows for even lower pressures, enhancing your ride quality. However, tire manufacturers often caution that this comes with a certain level of risk, so always ensure your tires are correctly set up to avoid any issues.
Tyre inserts
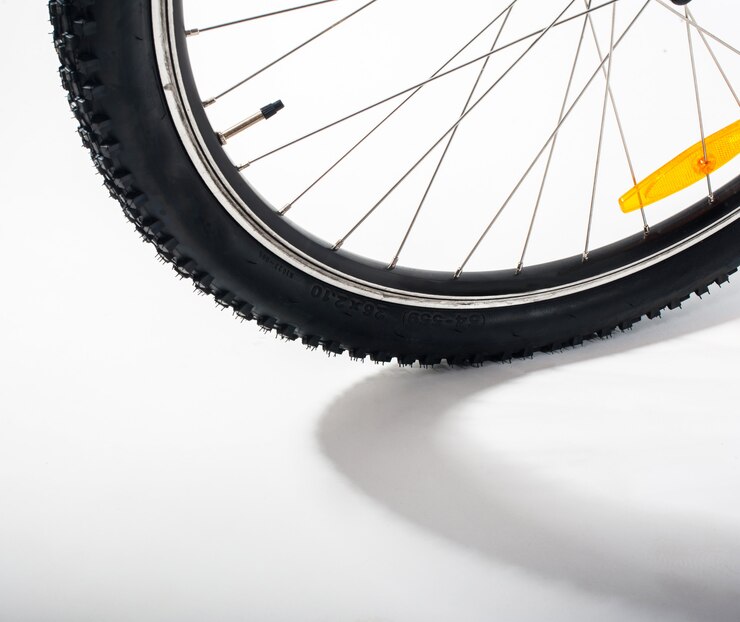
Tire inserts are becoming increasingly popular in gravel riding, inspired by their use in the mountain bike world. These tubeless solutions offer a worthwhile proposition if you frequently experience flatting or are concerned about damaging your rim or tire. By eliminating the inner tube, you can run lower pressures, and the insert provides added stability, reducing the risk of a pinch. For riders tackling rough terrain, inserts enhance durability and control, making them a practical choice for demanding conditions.
Weather conditions and temperature
When the trails are wet, consider dropping tire pressure slightly to improve control. A slight reduction of 1-2psi widens the rubber’s contact area with the trail, significantly increasing grip and stability on slippery surfaces. WTB suggests being cautious, as most gravel rides involve a mix of surfaces. Although lower pressure improves traction in muddy conditions, it is important not to sacrifice overall performance and safety on hard surfaces.

