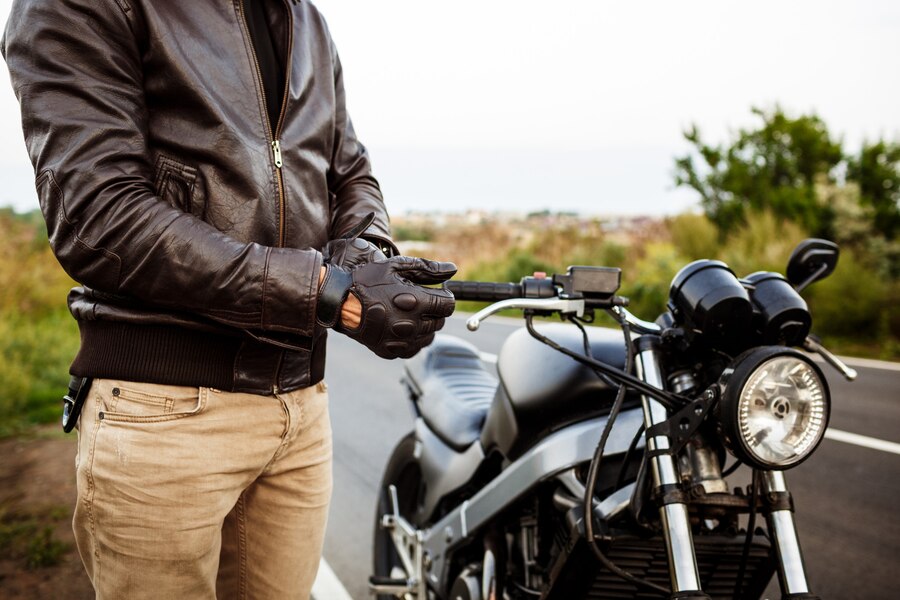
Riding a motorcycle, especially in a group, often gets tricky, especially when it’s loud out on the open road. It’s crucial to have a tried and true method of communication that every rider can know and rely on. hand signals for a motorcycle are not just the best way to stay connected, but they ensure that your buddies understand what’s happening as you move together. You don’t want to miss a signal or misinterpret the signs because that can lead to unsafe situations. From the basic 5 signals to a few extra ones, it’s important to add these tools to your arsenal to keep your riding experience smooth and safe.
When you’re out on the road, these signals help you make safe moves, whether you’re slowing down, stopping, or turning. Using hand gestures is universal in the riding community, so it’s important to practice them. Keeping your group in sync means using the right signal at the right time. It’s about maintaining a steady flow, adding extra caution, and staying aware of what’s happening around you. Once you hit the road, you’ll quickly see that these signals are a lifeline. So, let’s keep the tradition alive, use these hand signals, and keep riding safely together!
Related Post: Do You Need a Motorcycle License in Texas?
THE BASIC Hand Signals for a Motorcycle
These are the basic hand signals that most motorcyclists recognize, so be sure to master them. The lead rider will rely on the group of riders to set the pace.
INDICATE TO TURN LEFT
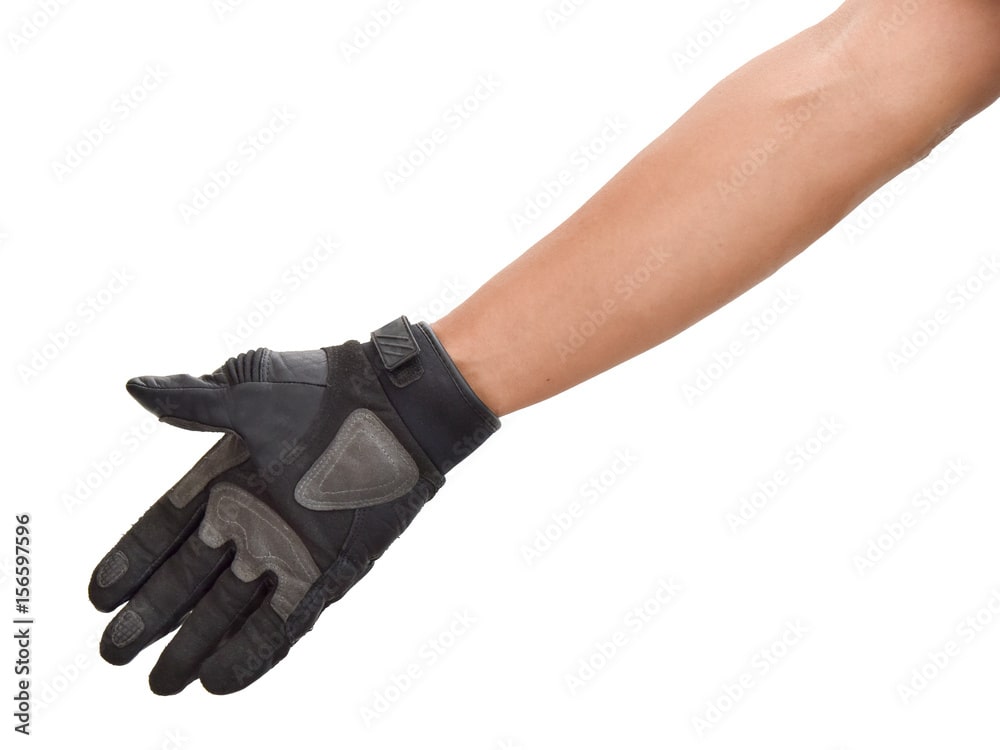
When you need to signal a left turn while riding, it’s essential to extend your arm fully out with your palm flat. This simple yet effective motion ensures clear communication with other drivers, especially if your bike’s indicator is busted. I’ve found that keeping your arm straight and extended is a useful alternative in such situations, allowing others to recognize your intention clearly. It’s a straightforward move, like shown in the picture, that every rider should master for added safety on the road.
Related Post: How Do Many Motorcycle Crashes Happen
INDICATE TO TURN RIGHT

When signaling a right turn on a motorcycle, it may seem odd to use your left hand, but it’s necessary for safety. A lead rider must avoid removing their hand from the bars, as it could temporarily restrict their access to the front brake, making the situation unsafe. Instead, riders should extend their left arm at a 90-degree angle with a closed fist. This method keeps things safe while clearly indicating your turn to others on the road, allowing you to maintain control while still communicating effectively with the group.
SPEED UP
To signal that you want to speed things up while riding, extend your left arm out straight with your palm facing upward. Then, simply swing your arm upwards a few times. This motion clearly indicates to other riders that it’s time to pick up the pace. I’ve found this signal effective and easy to use, keeping the communication smooth when you need to adjust the group’s speed without stopping.
Related Post: Is It Illegal to Ride a Bike on the Sidewalk?
SLOW DOWN
When you need to slow things down while riding, extend your left hand out straight with your palm facing down. Instead of the usual upward motion, swing your arm downwards to give the signal. This lets your group know it’s time to take it easy for the moment. It’s the opposite of the speed up gesture, and it’s just as important to ensure the whole group stays safe and in sync.
THE BIKER WAVE
One of the most recognized gestures among bikers is the biker wave, where a rider extends two fingers out to the side as a simple way of saying hello. It’s not strictly necessary, but it shows comradery and a sense of brotherhood with fellow riders. When you pass a fellow traveler on the road, giving this small nod is a great way to acknowledge them. Next time you’re out riding, give it a try and connect with the wider motorcycling community.
Related Post: Can You Ride Dirt Bikes on the Road?
MOTORCYCLE HAND SIGNALS FOR RIDER COURTESY
Although not as frequently used as the previously discussed signals, these are some useful indicators that you can use when needed. Many of them focus on ensuring the safety of your fellow riders.
COPS AHEAD
When you spot the boys in blue while out on a ride, it’s a good idea to give your group a heads-up. Simply tap the top of your helmet with your palm, and the riders behind you will immediately know to keep a lid on their speed. This quick warning can be passed along to any nearby riders, even if they aren’t in your group. Motorcycling is about looking out for each other, and it’s important to have each other’s back on the road.
FAILED TO TURN INDICATOR OFF
If the rider in front of you is opening and closing their left fist, it’s a signal that you’ve forgotten to turn your indicator off. As a courteous motorcyclist, you should extend the same courtesy to the riders behind you if they make the same mistake. This small gesture helps keep the ride smooth and safe for everyone.
Related Post: Are Mini Bikes Street Legal
DROP OFF
In a riding group, it’s common for riders to get strung out during a trip, especially when approaching a turn. To prevent the group from getting split, the drop-off system is used. The lead rider will point to a spot on the side of the road, indicating that the rider behind should stop and direct the rest of the group. This keeps everyone together and ensures smooth coordination during the ride.
DANGER AHEAD
When a rider sees any potential hazards ahead, the lead rider uses the same signal as the drop-off system. If the hazard is on the left, the rider will point to it with their index finger, while hazards on the right are indicated by pointing with their foot. This simple signal helps keep the group safe by ensuring everyone is aware of dangers on the road.
Related Post: How to Bike with a Dog
PULL OFF AT THE NEXT JUNCTION
When the lead rider decides it’s time to take a break, they will point to their head using their thumb. This means the group should pull over at the nearest pit stop for a rest. It’s a simple and clear way to communicate that it’s time to pause and recharge before continuing the ride.
TURN SIGNAL ON
When a turn is coming up, the rider in front will extend their left arm, opening and closing their hand. This is a clear sign to turn your indicator on. It’s important to be a good rider and do the same for the riders behind you, ensuring everyone stays aware and safe during the ride.
Related Post: Where Can I Ride My Dirt Bike Legally?
FOLLOW ME
To signal others to follow, you simply extend your left arm all the way up into the air with your palm facing forward. It’s similar to waving at someone, but without actually swinging your arm. This clear gesture tells the riders behind you to stay in line and continue following your lead during the ride.
COMMON GROUP RIDE SIGNALS
Every riding group needs a way to let everyone know it’s time to stop, which can be for various reasons. There is a separate signal based on the cause of the pit stop.
NEED FUEL
When you’re running low on fuel, simply point to your tank with your left index finger. It’s a straightforward signal to let the riders around you notice that you need to stop for gas. This quick action helps ensure no one is left stranded without fuel during the ride.
Related Post: Where Can I Ride My Dirt Bike Legally?
SIGNAL TO STOP
If you need to make a sudden stop, you can use a unique signal to alert the group. By bending your left arm at 90 degrees with your palm facing backward, you’re telling the rider behind you that it’s time to stop. This open palm gesture is clear and helps everyone know to pull over without any specific reason needed. It’s especially useful when a particular issue arises unexpectedly on the road.
CALL FOR COMFORT STOP
When the rider in front holds up a clenched fist and starts moving it up and down, they signal a comfort stop. While it may raise some giggles, this is a universal motorcycle hand signal to take a pit stop. If you find it hard to take seriously, a few alternatives are available, but this one gets the job done.
CALL FOR REFRESHMENT STOP
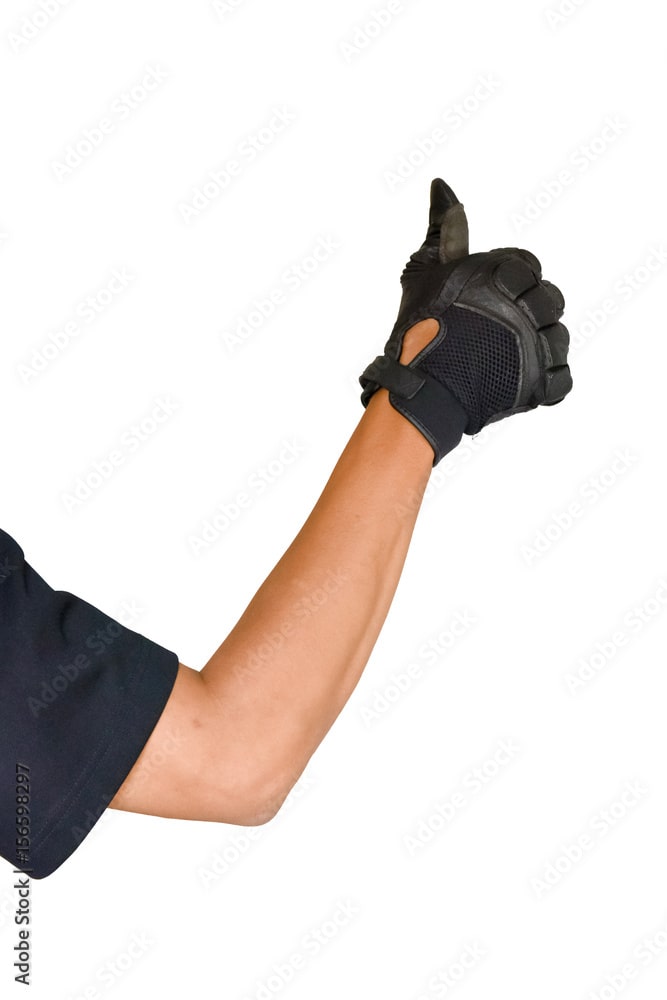
To let your group know it’s time for a refreshment stop, give a thumbs-up and point to your helmet. You can also raise your thumb towards your mouth as part of the gesture. This signal is clear and easy to understand, letting everyone know it’s time to pull over for a quick snack and refresh.
LESSER KNOWN HAND GROUP SIGNALS
We’ve gone over the essential cues you should know, but it’s always helpful to have more in your arsenal! Here are some lesser-known, but practical tips to use when needed.
PULL OFF

When the lead rider wants the group to pull off the freeway, they’ll use a specific signal. Point your left index finger to the sky, then hook it right over your head. This isn’t for a refreshment stop, but when an issue arises and the group needs to pull over. It’s a clear and easy-to-follow signal during a ride.
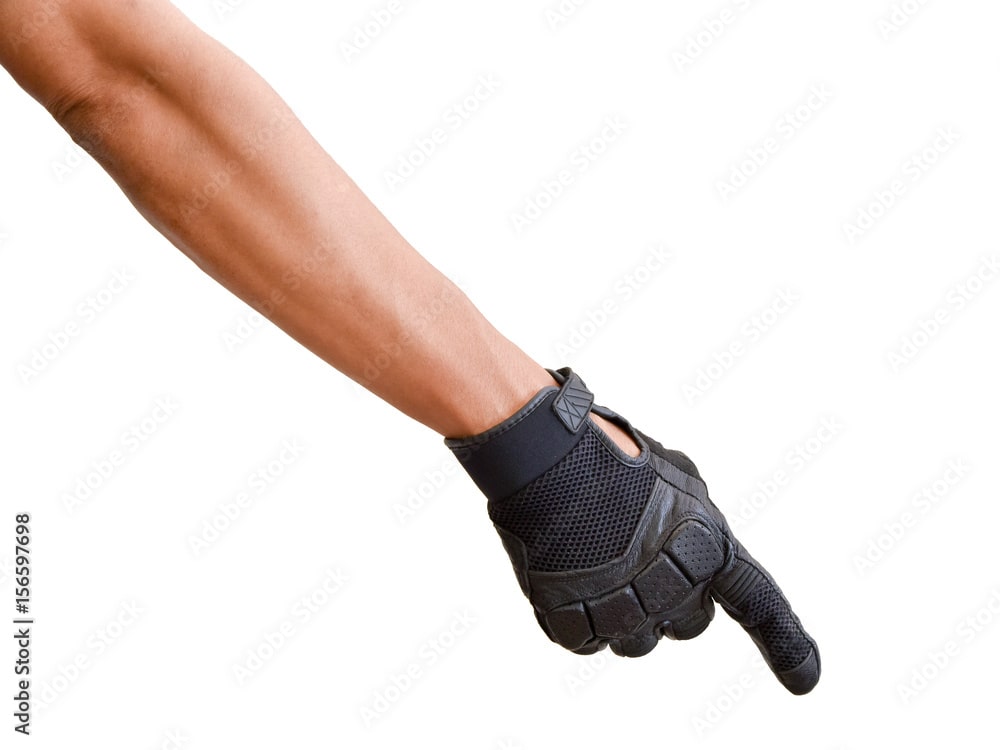
COME
To signal another rider to follow, point your finger upwards with a bent arm at 45 degrees. Then, point to the ground like shown in the picture. Repeat this motion a few times, pointing up and down to clearly send the signal to the rider behind you that it’s time to come along.
SINGLE FILE
When the road ahead looks tight, the lead rider might indicate for everyone to organize into a single file. This is done with a simple motion: the rider points to the sky with a raised finger, almost like they are celebrating a goal. It’s a clear signal to help maintain order and safety when conditions get narrow.
DOUBLE FILE
When the roadway is clear again, the lead rider will use a simple gesture to signal that it’s safe to ride side by side. They will hold up two fingers, indicating that you no longer need to stay in a single file formation. This gives you the freedom to ride alongside your fellow riders and enjoy the open road together.