When your bike’s chain feels slack or keeps dropping, it’s essential to tighten it to ensure smooth rides. Many cyclists face this issue, but thankfully, it’s easy to fix. With just a few tools and some patience, you can diagnose and solve the problem in minutes. Whether your bike has a single-gear or a derailleur, the steps to tighten the chain are straightforward. Even if it takes a few tries, you’ll save the time and energy of visiting a bike shop. So, grab your tools and follow these simple steps to keep your ride smooth and enjoyable.
What tools do you need to tighten a bike chain?
To tighten your bike chain, you’ll need a stand to keep the bike steady, a socket and wrench for adjusting bolts, and an allen key for smaller adjustments. Apply bike lubricant to the chain for smooth movement. Use an old rag or cloth to clean the chain, and wear gloves to protect your hands. A quality bike repair kit should have these tools, which are essential for all cyclists to keep on hand.
How to tighten a bike chain on a single-gear bike
Tightening the chain on single-gear or single-speed bikes is a straightforward task. These bikes have a fixed cog in the rear hub instead of a freewheel mechanism, meaning your legs act as the gears. To tighten the chain, you need to take your time to ensure the tension is just right. Proper tension ensures smooth and efficient riding.
- Related Post
- Are Mini Bikes Street Legal
1. Place your bike in its stand
To tighten your bike chain, start by placing your bike in a stand. This keeps the bike stable and provides easy access to all parts during the process. If you don’t have a stand, turn the bike upside down and place it on a flat surface. Use a mat to cushion the saddle and prevent it from getting damaged. This setup makes the work much easier and ensures you can handle the task effectively.
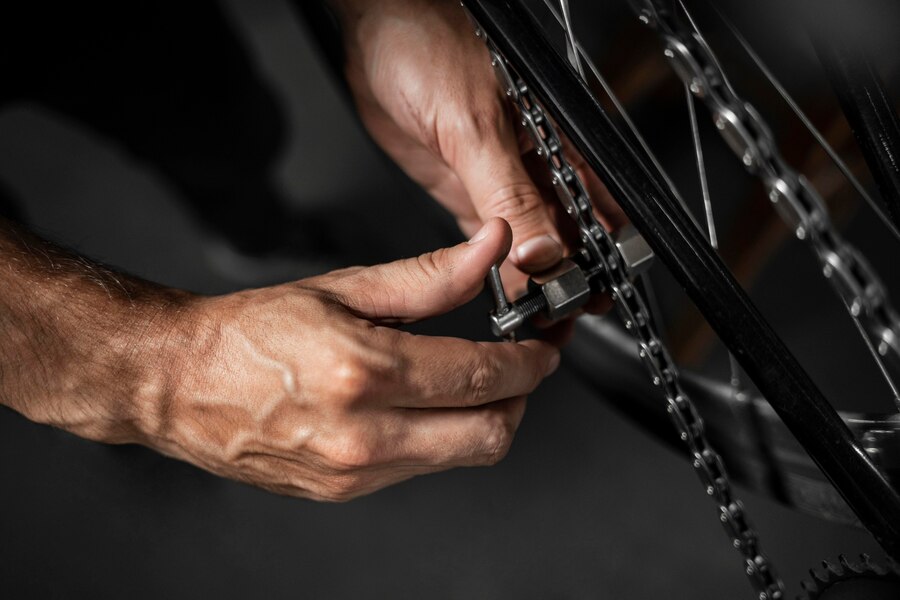
2. Loosen the rear axle
To tighten your bike chain, the next step is to loosen the rear axle. Use a socket wrench to remove the axle nuts by twisting them anti-clockwise until they are loose. This will enable the tire to move without restriction. Make sure to keep the nuts in a safe place so you don’t lose them during the process.
3. Pull the rear wheel backwards
To tighten your bike chain, carefully pull the rear wheel backwards. Do this slowly and gently to avoid rushing the process and risking a chain snap. Keep checking the tightness as you pull the tire to ensure the chain can only move about half an inch in either direction. Make sure the tire stays within the bike’s wishbone, which makes reassembling the wheel much easier.
4. Re-tighten the rear tire
Once you are happy with the result and the chain has reached its optimal tension, it’s time to re-tighten the rear tire. Fix the rear axle back into place using a socket wrench. Screw the nuts into their position with a clockwise motion until the tire is secured. Make sure the tire does not touch the bike frame or the chain. If it does, you may need to loosen it and try again.
5. Test your chain
After tightening your bike chain, it’s essential to test it. Spin the wheels and check that the chain and pedals rotate easily. Ensure the rear tire doesn’t make contact with the frame and that the chain spins smoothly. Move the chain with your fingers to see if it moves up or down more than half an inch. If you notice any issues, you may need to loosen the rear tire and pull it back to repeat the process.
6. Spin the wheels
After tightening your bike chain, it’s important to ensure the chain tension is correct. The chainring and back sprocket are not always perfect circles, so the chain tension can change as the cranks spin. To test this, spin the wheels and check that the chain does not become too tight or too slack at any point in its rotation. This simple test helps to confirm that your chain tension is consistent and will perform well during your ride.
7. Tighten everything back up
After ensuring the tension of your chain is correct, you need to tighten everything back up. If you’re not satisfied with the tension, loosen the axle nuts again and adjust until you are confident that you’ve found the sweet spot. Once you’re happy with the chain tension, tighten the axle nuts fully to secure everything in place.
8. Test your bike
After tightening your bike chain, it’s important to test the bike to ensure the chain tension is correct.Turn your bike upright and ride your fix around the block for a quick test. This helps to make sure your ride feels better and the chain is properly adjusted. If everything is as it should be, you’ll notice a much smoother ride.

How to tighten a bike chain with a derailleur (step-by-step)
Bikes with derailleurs have an advanced gear system that makes pedalling easier, especially when cycling uphill. However, due to the gear-shifting mechanism, there’s more involved in locating the cause of a loose chain. This process requires attention because a loose chain can pose a greater risk of your foot getting caught, potentially causing a nasty injury.
If you notice your chain is loose on a bike with a derailleur, you should fix it as soon as possible. While you may choose to take it to a professional at a bike shop, you can also follow a simple five-step process to do it yourself. We’ve covered these steps below for those who want to try fixing it at home.
1. Place your bike in its stand
When inspecting your bike, especially a single-gear one, it’s important to secure the bike in a stand with the saddle facing the ground. If you don’t have a bike stand, place it on a flat surface to avoid it getting damaged. Use a mat to cushion the saddle and keep it safe while you work. This setup ensures that your bike remains stable and makes the process easier.
2. Locate the rear derailleur screw
For multi-gear bikes, you need to locate the screw on the derailleur. This is the B-tension screw, often marked with the letter B adjacent to it. This screw adjusts the distance between the top pulley and the freewheel or cassette, affecting the chain tension. Carefully turn the screw clockwise to tighten the chain. After this step, test the bike to see if the chain is properly tightened.
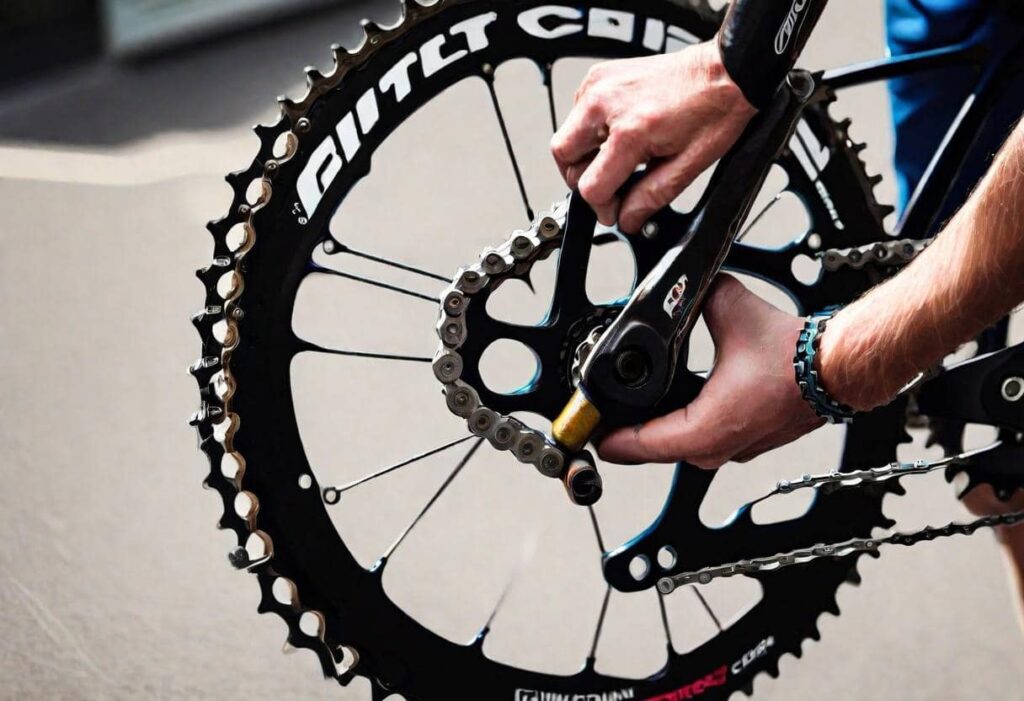
3. Check the condition of the chain
If the previous step didn’t fix the chain tension, the chain itself might be in poor condition. Test the chain using a chain checker to measure its wear and tear. This helps determine the reason behind the slackness. Watch a video tutorial if needed to understand the process. If the chain is slack, you may need to replace it. Also, check the sprocket; if it’s worn, attaching a new chain to a worn-out sprocket can cause more problems.

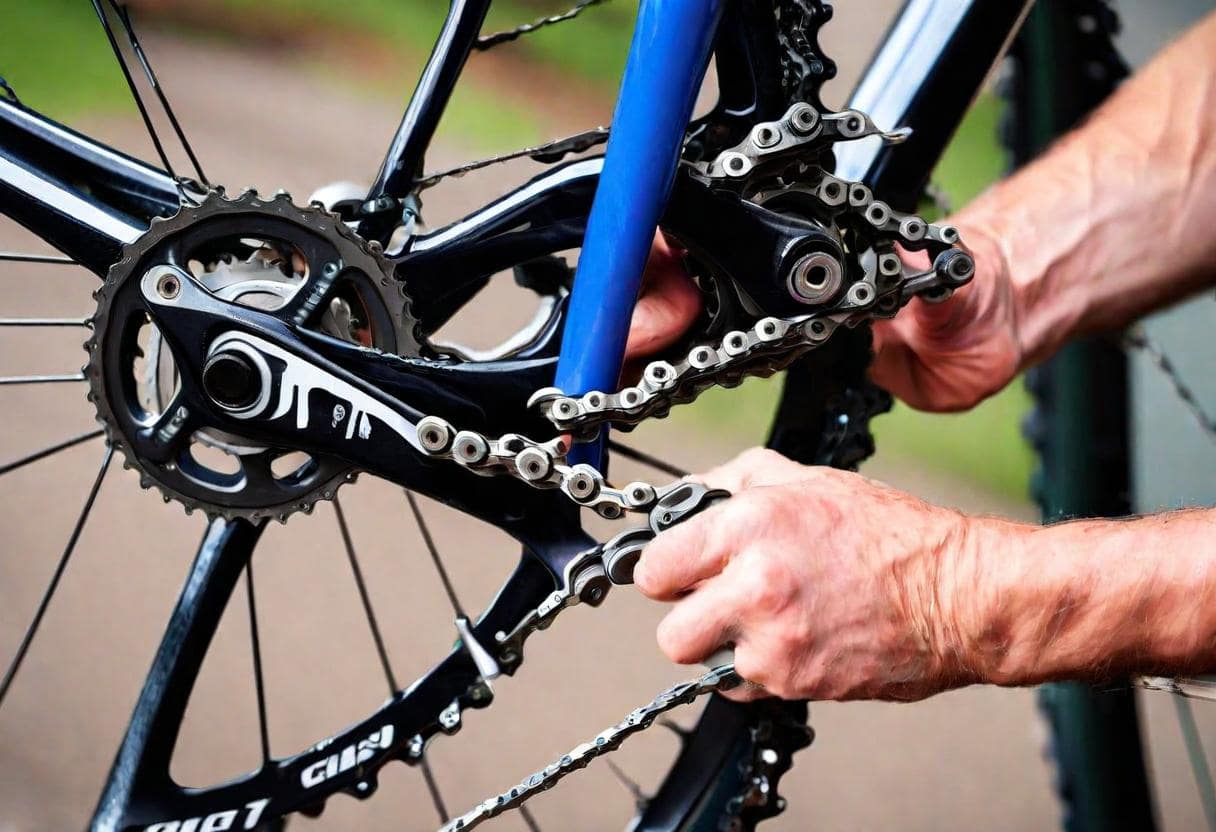
4. Use the rear wheel to adjust chain tension
For multi-gear bikes, start by disconnecting the rear brakes from the brake cable and lifting the quick-release lever to gain access to the rear wheel. Carefully pull the rear axle towards the dropouts to tighten the chain. Make small adjustments by moving the axle and lowering the quick-release lever while checking the tension after each process until the chain is tight. Once you’re satisfied with the chain tension, reconnect the brakes to the cable and secure them with the quick-release lever. Ensure the tires are at a safe distance from the chain and bike frame.
When you are finished, it’s important to test the bike by rotating the wheels and pedals to check the movement of the chain. Everything should rotate smoothly without any contact between the tire, bike frame, or chain. Move the chain with your fingers to ensure it only moves up or down about half an inch. If the chain stays in place, you’ve successfully tightened it. If not, retrace your steps or seek help from a professional at your local bike shop.
5. Test your chain
After adjusting the chain, it’s important to test your bike. Spin the wheels and pedals to observe the movement of the chain. Ensure there is no contact between the tire, bike frame, or chain. The chain should move smoothly and only shift about half an inch when you push it with your fingers. If everything moves correctly, the adjustment process is successful.If there is a problem, you may need to reevaluate your steps or consult a professional at the nearest bike shop.
How does a bike chain work?
o answer the common question about how to tighten a bike chain, it’s essential to know how a bike chain works. A bike chain transfers power from the pedals to the drive-wheel, which propels the bike forward. It is made up of wide and narrow links connected by rivets. Each outer link has a roller that meets the chainrings and cassette on the drivetrain, allowing the chain to move smoothly.
Why do bike chains become loose?
There are several common reasons why a bike chain might become loose. General wear and tear can weaken the chain over time. Installing a new chain on old components can also lead to issues, as can a weak derailleur spring. Additionally, if the rear axle is positioned too far forward in the rear dropout, it can cause the chain to loosen.
It’s important to spot the signs of a loosening chain in the early stages. If you’re unsure whether your chain is loose, look for symptoms like the bike chain making contact with the frame, the chain dropping or skipping, rapid drivetrain wear, and poor shifting. Understanding the causes and indicators of a loose bike chain will help you diagnose and fix the issue before it becomes a bigger problem.
How tight should a bike chain be?
For the optimal tightness, your bike chain should be able to move up and down about half an inch. If the chain is slack or looser than this, it needs to be adjusted to the right tension. Ensuring the correct tension will help your bike run smoothly and efficiently.
How often should I lubricate my bike chain?
To keep your bike running smoothly, you should lubricate the chain every 100 miles or at least once a week if you’re riding most days. This is an important step in your regular bike maintenance routine. If you don’t have time to fully clean and lube the chain, at least wipe it down with a clean rag to remove dirt and grime.
What is the correct tension for a single speed bike chain?
When you tighten the bike chain on a single speed or fixie bike, you’re aiming for a sweet spot. The chain shouldn’t be too tight or too slack. Loose chains can slip off mid-ride and make your pedalling less efficient, meaning you put in the same effort but don’t travel as far. On the other hand, a chain that is too tight causes problems like unnecessary friction, which leads to wasted energy and excessive wear and tear on bike parts.
To find the correct chain tension for your fixie, the chain should move up and down by about half an inch (just over a centimetre). This is the perfect chain tension for any single speed bike. Ensuring the chain is at the right tension will make your rides smoother and more efficient.
When should you tighten the bike chain on a single speed bike?
If your chain slips while you’re riding your bike, it’s definitely time to tighten it. Remember, in new bikes, the components can loosen a bit with use. Therefore, it is recommended to adjust the chain after riding the same speed bike for about six weeks. This helps keep your bike running smoothly and prevents issues while you ride.
What tools do you need to tighten the chain on a single speed bike?
You don’t need complicated tools to adjust the chain on a single-speed bike. Most of the necessary items are likely already in your bike tool kit. A spanner is essential for the job. You might also want to use gloves to keep your hands clean and some chain lubricant to ensure everything is moving smoothly once you’re done. A bike stand can be handy, but it’s not a must-have.