If your bike has a rusted chain, you might think that replacing it is the best option, but that’s not always necessary. A rusty chain can affect the overall health of your ride, causing imperfections that may harm the drivetrain. However, if the rust hasn’t deteriorated the chain too much, you can fix it instead of replacing it. Many bikes end up suffering from rust buildup, especially when left outside in wet conditions.
If the rust is not severely deep but just a surface issue, using lime juice or WD-40 is a great way of restoring the chain to a shiny, rust-free condition. Once you get the chain clean, don’t forget to reattach it properly and lubricate it well. After that, your bike will be ready to ride smoothly again. In this article, we delve into how to remove rust from bike chain.
Related: Why Is Rust Bad for a Bike?
Steps of how to remove rust from bike chain
Part 1: Inspecting the Chain
1. Turn the Bike Upside or Secure It in a Bike Rack:
Before working on your bike, make sure it’s stable by either flipping it upside down or placing it in a rack. A kickstand alone won’t be stable enough to keep it upright while you’re removing rust from the chain. If you have a nice bike, lay a drop cloth underneath to prevent scratch marks on the paint job. You can even build racks using scrap parts, making a frame with hooks to hang the wheels. A bonus of this method is that the chain will be more accessible as you work on it.
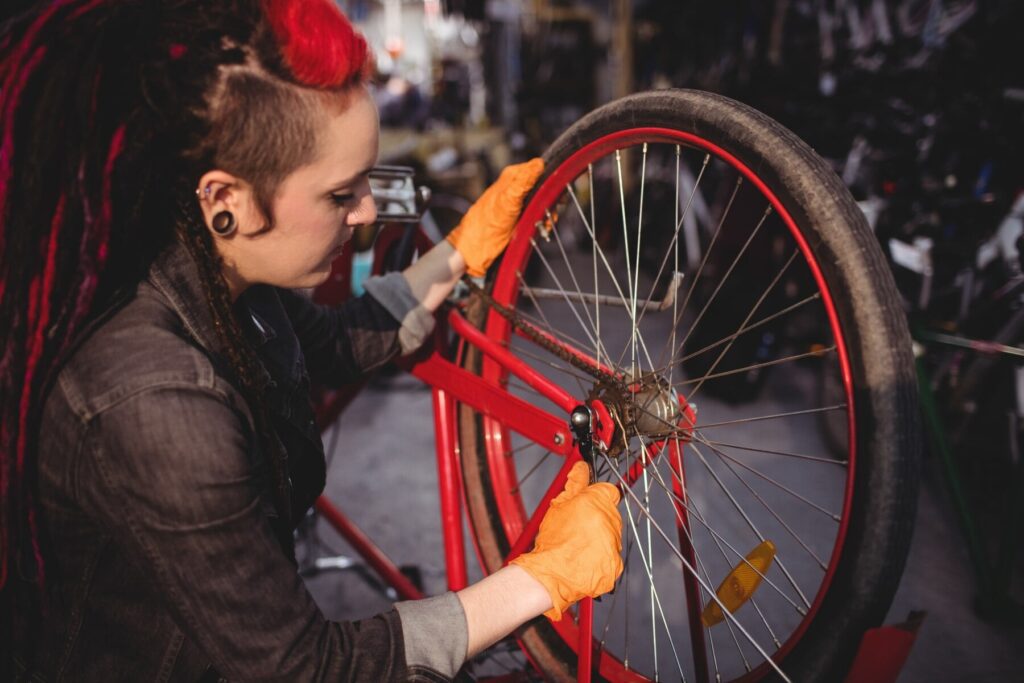
2. Evaluate the Condition of the Chain:
Look close at your chain to check for warping, imperfections, or deterioration in the metal. If the damage is too much, getting a new chain is a better option. However, surface rust, buildup, and crustiness can be removed, making the chain run smoothly again. To ensure the longest life and best operation of your bike, avid cyclists should clean their chain at least once a week or every 200 miles (321 km). Keeping your chain cleaned and lubed will also protect the drivetrain and help you notice damaged links early. Always replace weak links right away to prevent further issues.
3. Locate the Master Link on the Chain, If Applicable:
Some modern bike chains come with a master link that makes it easier to remove. Look for a special link where a pin fits snugly into a slot on the connecting link. However, many single-speed bikes do not have a visible master link. If yours lacks one, consider taking it to a local shop where they can install it for you—this process usually costs about $15.
4. Snap a Picture of the Drivetrain to Make Reassembly Easier:
Before taking the chain off, snap a picture of the drivetrain from different angles. This will help you reinsert it correctly later. Make sure to capture clear pics of the gears, sprockets, and shifting mechanisms at the wheels. If the chain isn’t put back properly, it can cause serious damage to your bike, lead to personal injury, or prevent it from working altogether.
Related: best electric bike conversion kits
Part 2: Cleaning Surface Rust
1. Remove the Chain if It Has Heavy Surface Rust:
If your bike chain has heavy surface rust, it’s best to remove it for proper cleaning. If your chain has a master link, use your hands to slide the pin out of the slot where it is seated, allowing it to disengage so you can pull it free. If there is no master link, you’ll need to jump a link off one of the gear spikes. Once the first link is off, the rest will come off easily. Take the chain out of the drivetrain completely before removing grime. However, if the rust is light and the dirtiness is minor, you may be able to get it cleaned while it’s still attached. If removed, the chain must be reinserted in reverse order once cleaned.
2. Run the Chain Through a Rag Wet With Degreaser:
Grab a clean rag and dampen it with a degreaser before running the chain through it. This will help pull off any buildup of grease and rust. If the dirt is stubborn, you may need to apply a vigorous scrubbing or even buffing with the rag until the rust is completely free from the chain.
3. Soak Chains With Heavy Grime and Buildup in Degreaser for 20 Minutes:
For chains with heavy grime and excessive buildup, a deeper clean is necessary. Soak the chain in a bottle filled with degreaser for 20 minutes to break down the dirt. After soaking, allow the solution to work, then rinse the chain in a second container filled with hot water. Since degreasers can be harsh on the skin, always wear latex gloves when handling them and check the product label for safety instructions.
4. Scrub Away Light Rust With Steel Wool Wet With Lime Juice:
For light rust, using steel wool soaked in lime juice is an effective de-rusting technique. Since this process can be rough on your hands, make sure to slip on latex gloves before you begin. Take a piece of steel wool, thoroughly soak it with lime juice, and start to scrub the affected areas. As the rust loosens, wipe the surface with a clean paper towel to keep track of progress. If the rust is neutralized but clogs up the steel wool with gunk, simply rinse it in hot water, reapply the lime juice, and continue scrubbing. When breaking down large amounts of rust, it’s a good idea to periodically check the chain to see how much rust is left to remove.
5. Rinse Away Lime Juice With Soapy Water After Removing Rust:
Once the rust is gone, you need to rinse off the lime juice completely. Since lime juice contains a good amount of sugar, allowing it to dry on your chain can lead to gumming and other issues. To prevent this, mix warm soapy water using dish soap and use it to clean the chain. Make sure every part of the chain is rinsed properly before drying it.
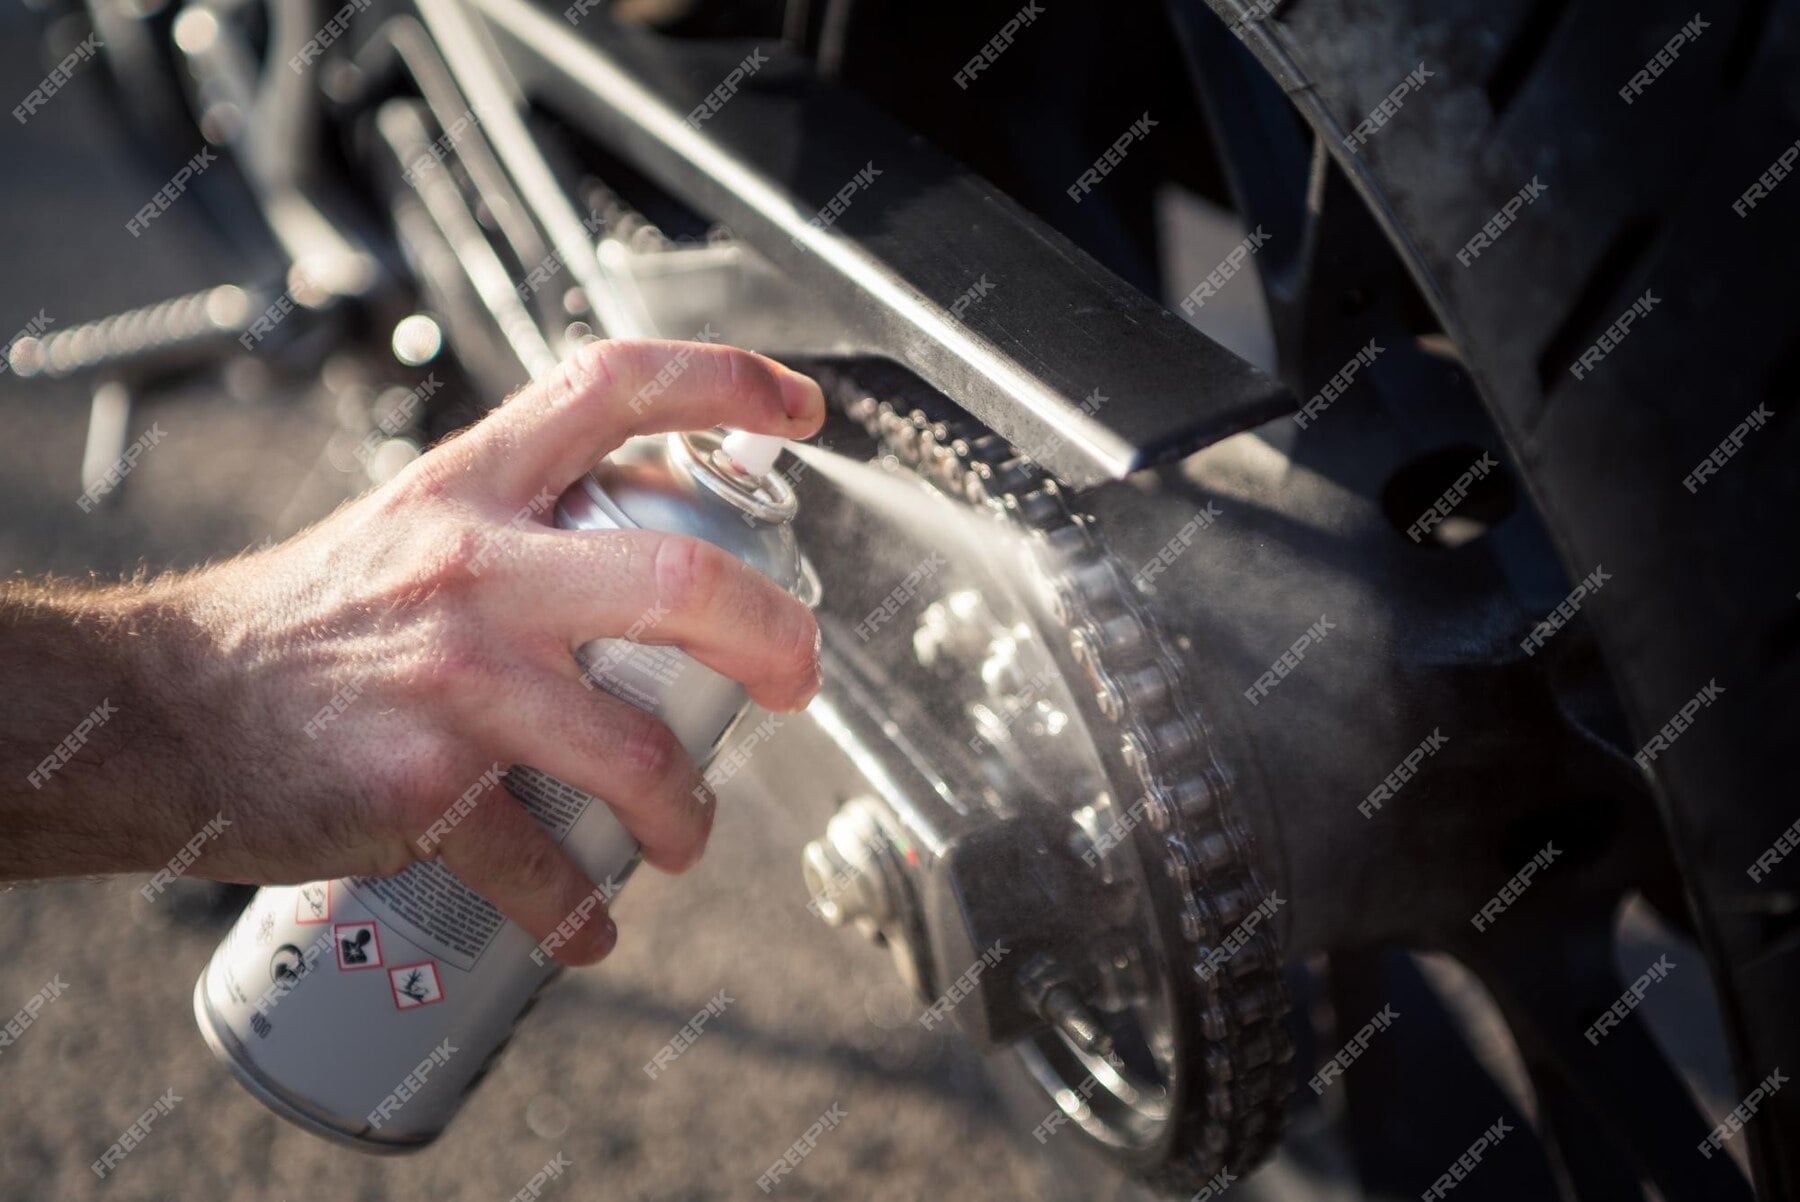
6. Break Up Tough Rust With WD-40 and a Wire Brush:
For tough rust, you may need a stronger method. Break it down by applying WD-40 directly to the rusted surfaces of the chain in sections. Let it sit for a moment to soak into the rust before scrubbing. Using a wire brush, briskly scrub the chain until the rust is gone. Remove any remaining buildup using a fresh cloth. Once the chain is rust-free, it’s ready to be reattached and lubricated properly. However, WD-40 should never be used to lubricate a bike chain. Instead, use a formulated lubricant made specifically for this purpose to keep your chain running smoothly.
Part 3: Reattaching the Chain
1. Replace the Chain in the Drivetrain:
Once your chain is clean, it’s time to replace it in the drivetrain. The process may vary depending on the kind of bike you have, so the pictures you took earlier can be helpful. Start by threading one end of the chain through the drivetrain, making sure it meets its opposite end at the top or bottom midpoint between the wheels. Ensure that the links fit properly onto the points of the gears and run smoothly through all component parts. If you feel resistance, the chain might be inserted improperly. If you’re struggling, check a tutorial on YouTube or do a keyword search for your bike’s manual online.
2. Refasten the Master Link:
Now, it’s time to refasten the master link. Use your fingers to bring the two ends of the chain together at the midpoint between the wheels. Carefully slide the pin into the slot of the opposite end-link, making sure it clicks into place. A properly fastened master link should align evenly with the other links. If it is fastened unevenly, it could cause the chain to warp, ultimately ruining it.
3. Check the Motion of the Chain:
With the master link connected, you are finally ready to test the chain. Give the wheels a spin and observe how the chain passes through the drivetrain. If you notice unnatural resistance, irregular noises, or sounds like groaning, scraping, or grinding, you may have reinstalled it incorrectly. Some small errors can be corrected with your fingers, but in some cases, you might need to remove the chain completely and reinstall it from scratch.
4. Lube the Chain:
To protect your chain from further rusting and buildup of grime, apply quality lube. Hold the nozzle above the chain and start squeezing out a thin, steady stream of lubricant while slowly spinning the wheels. Once the chain returns to its starting position, it is lubed and ready to ride.