When I first tackled the job of learning how to cut fork steerer tube, I realized it’s not as intimidating as it seems—if you follow the right process and stay careful throughout. Whether you’re upgrading your road or mountain bikes or just making a fresh setup, trimming that tube can give your ride a cleaner look and better fit.
You’ll need a few essential tools and a good understanding of the stack height you want after removing any spacers or adjusting it. The cutting part itself is pretty straightforward, especially once you secure the fork and mark the exact length you need. I’ve done this on both aluminum and carbon steerers, and the key is always to go slow and double-check everything.
Related: Husqvarna Logo History
How to Cut Fork Steerer Tube
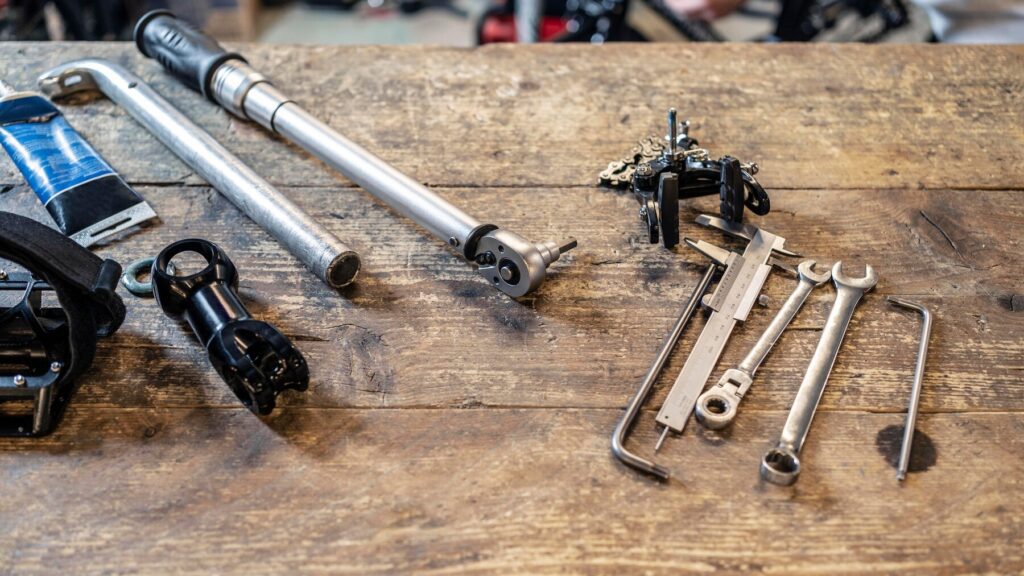
What Tools Do We Need?
I always start with a sharp saw and the right blade for the material of the steerer tube—whether it’s carbon or aluminum—because using the wrong one can ruin your fork.
Before cutting, I wipe down the area with a bit of degreaser and a cloth or paper towel to make sure there’s no grime that could mess up the line or the finish.
After the cut, smoothing the edge with a file or sandpaper gives it a clean, safe finish.
And finally, I always mark the exact spot with a permanent marker or pen so I don’t second-guess mid-cut.
1. Set Crown Race
Before getting into any actual cutting, I always mock everything up first to avoid ending up with a steerer tube that’s too short—a mistake you definitely don’t want to make. Once I’m confident about the length, I set the crown race into place by aligning it at the base of the steerer. It needs to be properly pressed so it sits flush and makes solid contact with the bottom bearing in the headset. If this step isn’t done right, your front end might not feel stable.
Related: The History of Aprilia
2. Assemble Headset
Before measuring or making any cuts, I always make sure the headset is fully ready. That starts with checking that the cups are properly pressed into place, especially if you’re working with an integrated setup like I often do, where the bearings simply drop right into the frame. I keep the stem and any spacers nearby so I can mock up the full stack height and see exactly how much steerer needs trimming.

3. Test Fit Fork
At this stage, I always slide the fork up through the headtube and headset just to test the fit before I cut the steerer tube. This step is crucial because every bike is different, and you want to make sure the height is right for your handlebar position. I usually start with a setup that includes spacers—in this case, three 10 mm, two 5 mm, and one extra on top of the stem—which gives me about 30 mm of total adjustment room.
Once everything is installed, including the cap and the dust cover, I make a good guess as to where the stem and bars should sit. This gives me the flexibility to adjust later based on how the bike feels while riding. I’ve learned that doing this on different bikes and frames really pays off, especially when it comes to making subtle adjustments later.

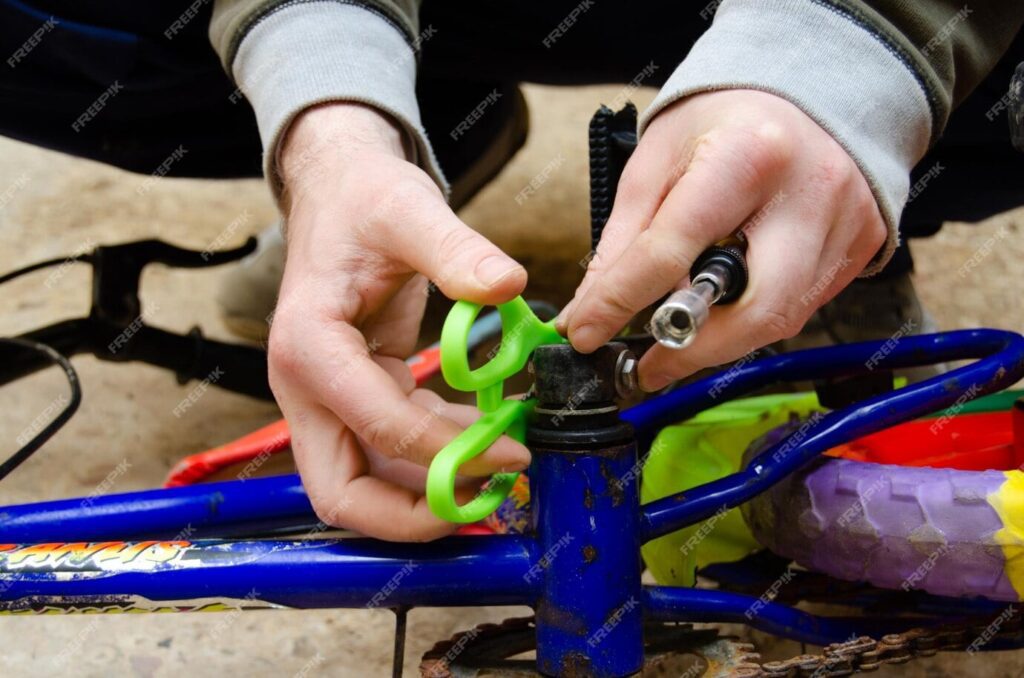
4. Disassembly
Before you can even think about making the cut, you’ll need to remove a few important parts to get access to the fork. I start by taking off the front wheel, then detach the brake caliper and cables to keep them out of the way. Next, I undo the stem cap using a hex key, usually 4mm or 5mm depending on the bike. While doing all this, I make sure to note the exact order everything was arranged, because when it’s time to reassemble, putting each piece back in its proper spot—from the top cap to the last bolt—is just as important as the cut itself.

5. Measure and mark
Once the test fit feels right, I take a step back and decide how much length of the steerer tube I want to keep. I usually leave a small spacer above the stem just in case I want to raise the bar in the future—this gives a bit of flexibility before committing to the final height. Using a permanent marker, I draw a clean line around the tube, just above where I want it to end.
This mark is crucial because it guides the cutting, and it’s worth double-checking that the height works for your riding style, especially if you’re unsure and may want to go lower later.
Next, I carefully undo the stem bolts, then remove the stem from the steerer tube, followed by the spacers, washers, and headset components, taking note of the order everything came off. That way, reassembly will be smooth. Once that’s done, I gently remove the fork—sometimes it takes a few taps with a rubber mallet if it’s snug in the headset.

6. Fit the saw guide and cut
With the fork removed, I place the saw guide on the steerer tube, making sure the clamp is close to the legs of the fork. I align the slot so it sits just 3mm below the pen mark I made earlier—this allows enough space for the top cap to properly preload the headset without bottoming out. It’s important that the line I draw with the marker is clear, as that’s exactly where I’ll be cutting.
If there’s a star nut already inside the tube, I check that it’s not in the area I’m removing; if it is, I gently push it downwards using a soft mallet or driver so the blade doesn’t hit it during the cut.
Once everything is lined up, I tighten the clamp on the guide and secure it firmly in a vice. From there, I carefully saw through the steerer tube, keeping steady until the excess piece falls cleanly away. This part always feels the most final, but with a clear point marked and the guide in place, the cut usually turns out clean.
7. Deburring
Once the cut is complete, it’s really important to clean up the edges of the steerer tube so everything fits smoothly and safely. I use a file or some abrasive paper to gently work both the inside and outside of the tube, taking care to remove any sharp edges left from the cutting. This part of the process is called filing or deburring, and it helps prevent future issues like component damage or unsafe fits. After that, I grab a cloth to remove all the tiny metal particles left behind.
8. Re-installation
After the fork has been cut and cleaned, I slide it back into the headtube, making sure to reassemble all the parts of the headset in the correct order. This is the perfect moment to clean the interfaces and apply fresh grease to the bearings for smooth operation. I then add the spacers and the stem, setting them just like in the mock-up before the cut. Placing the top cap in position, I tighten it slowly until the slack is gone. It doesn’t need to be overly tight—just enough to eliminate play without causing the headset to bind or rumble when turning the handlebars.
Once the headset is set, I refit the brake and wheel securely. With the bike on the ground, I align the bars, make sure the stem is straight, and tighten the bolts to the correct torque settings using a torque wrench.

How short should I cut a fork steerer tube?
When deciding how short to cut the steerer tube, I always leave a bit of wiggle room just in case I want to raise the handlebar later. A good benchmark I follow is leaving one stacker above the stem, which gives flexibility without overcommitting. This is especially smart if you’re thinking about resale down the line—keeping the fork a bit longer helps preserve its value.
A longer tube opens up the potential for more buyers, increasing the number of people who might be interested in a second-hand fork. It’s a small detail, but if you’re working within a budget, preserving that resale appeal can make a big difference.