
As someone who’s adjusted their bike setup countless times, I’ve learned that understanding how to assemble handlebars on a bike is more about comfort and fit than anything else. If the width or length of your current handlebar or stem feels off, it’s a clear sign it’s time to replace them. A proper fit ensures better ergonomics, which makes longer rides much more enjoyable. I always recommend going step by step to make sure everything aligns correctly. When you install a new setup, think of it as crafting your personalized cockpit—tailored for control and efficiency. This process might sound technical, but with a bit of patience and the right guidance, anyone can handle it.
Overview of the tools required
A Hex spanner in sizes 4, 5, and 6 will likely cover most bolts on your handlebar and stem, depending on the model.
If there’s a bell attached, you’ll need a screwdriver for removing it before beginning the main steps.
Some setups also use a Torx key, so it’s handy to have one around.
For accurate tightening, I always rely on a Torque wrench to avoid over-tightening and damaging components.
The following steps are required:
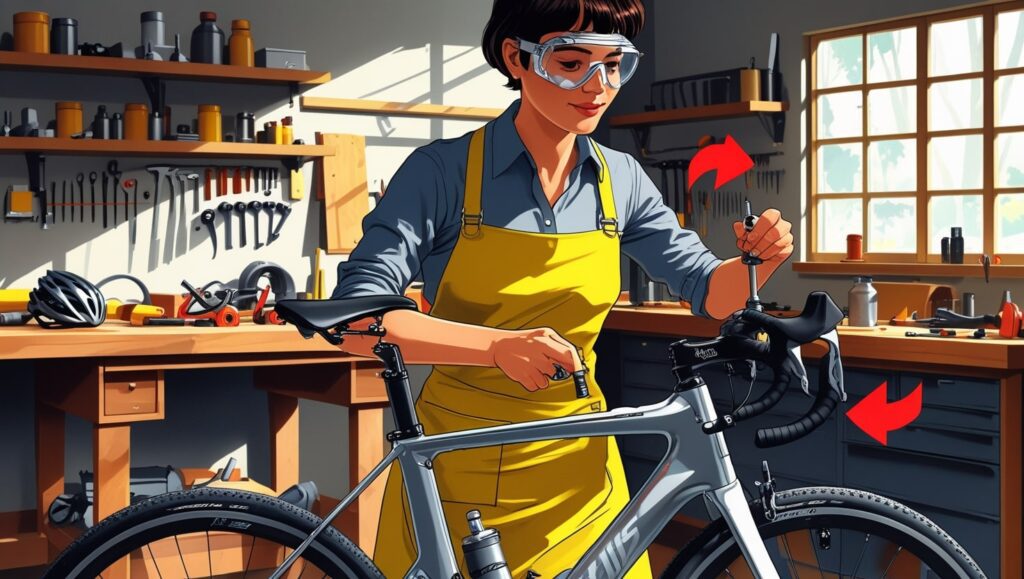
Step 1: Removing grips, brake & shift levers
Before installing your new cockpit, it’s important to remove every component currently on the handlebar. I usually start by using an Allen key to loosen the screws holding the grips, brake levers, and shift levers. Take your time as you slide each item off, and don’t forget the smaller accessories like a bell—they often go unnoticed. Be careful with the cables and lines; let them hang freely without letting them buckle. I’ve found that when shifters are removed in the right order, the rest of the process goes smoothly.
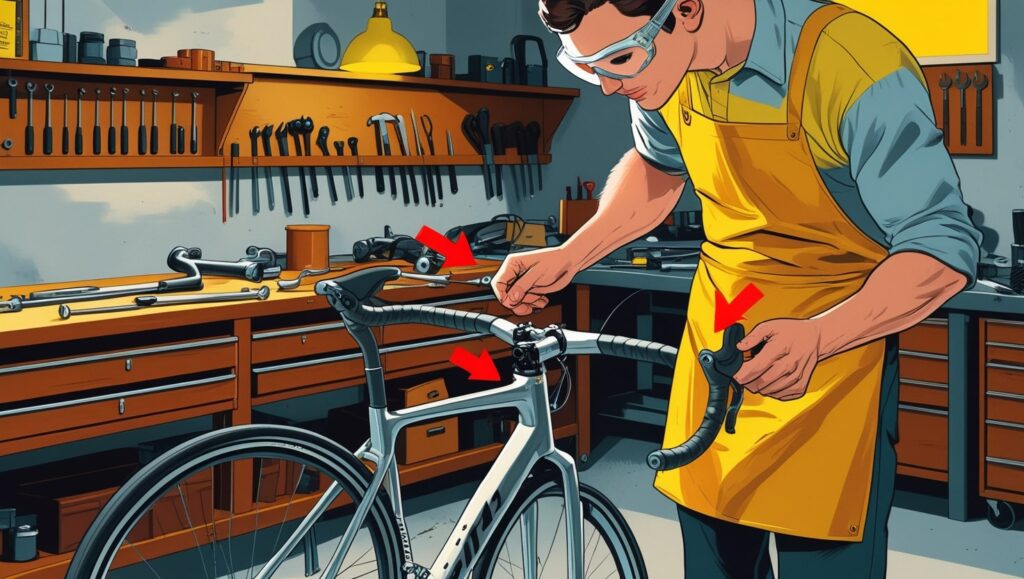
Step 2: Removing the handlebar
Once the previous components are removed, it’s time to loosen each bolt on the stem face plate carefully. I usually hold the plate in place with one hand while I screw out the final bolt, just to make sure the handlebar doesn’t fall unexpectedly. Sometimes the bar fits tightly into the curve of the stem, and a gentle pull with light pressure is enough for removing it. To avoid losing any associated bolts, I like to screw them back into the stem after the handlebar is completely off—just a simple habit that saves time later.
Note: Go straight to step 5 if you just need to change the handlebar.
Step 3: Removing the stem
Make sure the bike is firmly on the ground—this helps keep the fork in position when you remove the stem.
If your bike is hanging on a repair stand, be careful: once the stem is removed, the fork may fall out of the head tube as it’s no longer attached.
Three bolts that secure the stem to the steerer tube and prevent it from rotating must be loosened: two on the sides and one at the top.
Just loosen, not unscrew, the side bolts fully.
The top bolt, however, secures the headset and must be unscrewed completely along with the cap.
Once everything is free, gently pull the stem and any spacers upwards off the steerer tube.
Step 4: Pre-assembling the stem
Some stem models are designed to be mounted from both sides, giving you the flexibility to choose between two angles depending on your comfort and riding posture.
From the top, lower the stem onto the steerer tube until it touches the headset cap.
Give it a gentle push downward to make sure it’s seated correctly.
Slightly tighten the side bolts just enough so the system feels secured but not fully locked yet.
This helps keep everything in place and ensures the parts don’t get twisted during final adjustments.
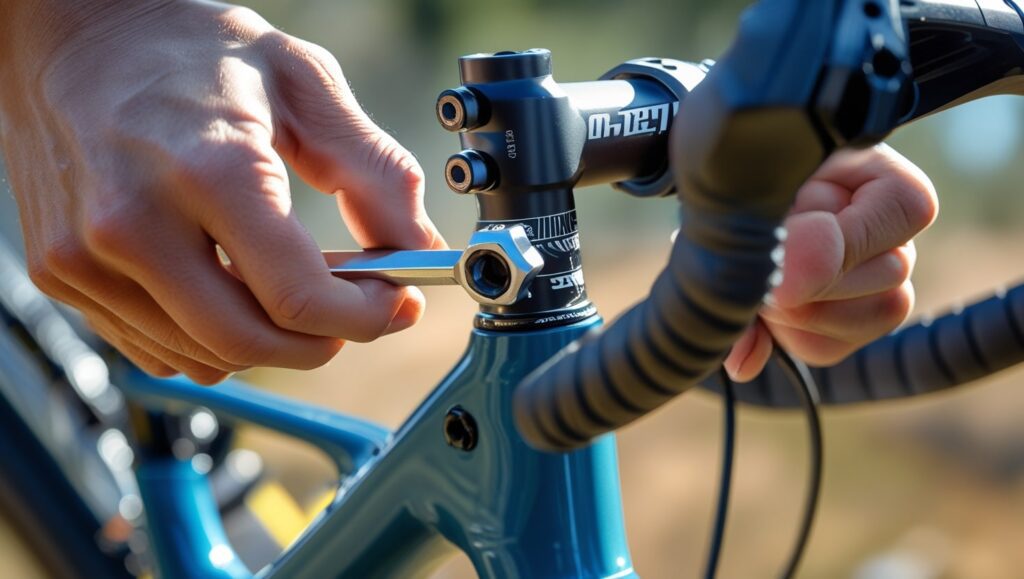
Step 5: Mounting the handlebar
Start by fully removeing the face plate from the stem and gently placing the handlebar into position. Put the plate back in front and begin to screw in the bolts gradually until the bar feels tight, but not overly so. At this stage, don’t force anything—just ensure the handlebar stays in place while you work. Use the alignment markers to center the bar both horizontally and vertically, making sure it’s correctly positioned in the centre. A good trick I use is checking the gap between the top and bottom of the stem and face plate—they should be equal for even pressure.
Then, to properly distribute the load, gently tighten each bolt in a diagonal sequence while paying close attention to the torque specifications. Use a wrench to avoid over-tightening and damaging the stem. Attach the shift and brake levers after making sure everything is securely in position, and then slide the grips onto the handlebar’s left and right sidesMake sure the distances and angles on each side match—I always double-check this to avoid handling issues later.
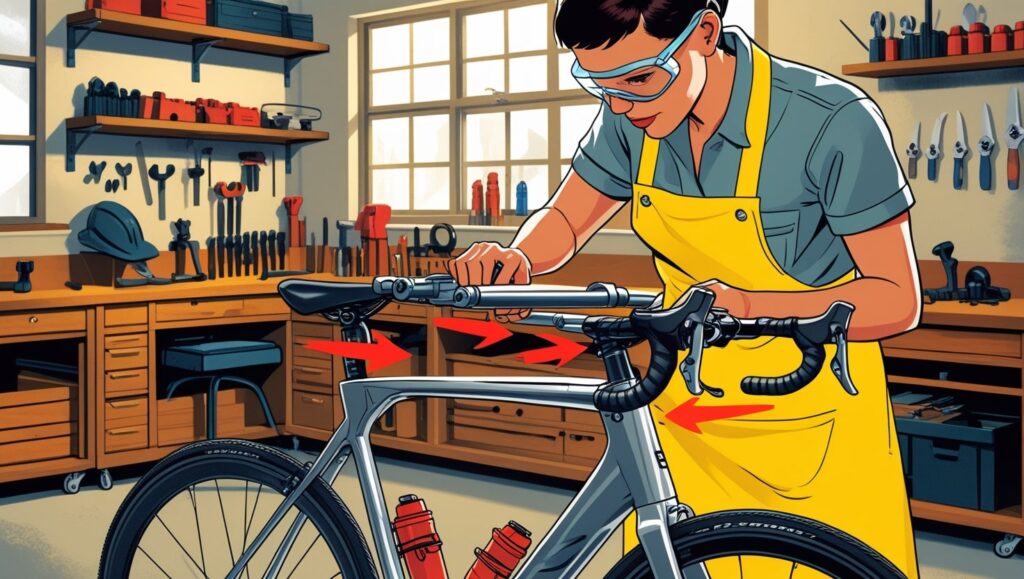
Step 6: Mounting the stem

Once the handlebar is properly assembled, it’s time to align the stem with the front tyre. To do this, slightly open the side bolts, turn the stem gently left or right until everything looks perfectly straight and aligned with the wheel. The headset cap and any spacers that are required should then be properly installed. This is a subtle step—don’t fully tighten the cap just yet; go only until the steering feels firm, without any play when turning the bars.
Once that’s done, begin tightening the side bolts to secure the stem. Always tighten them alternately—a little at a time on each side—to apply even pressure. Use a wrench and pay close attention to the recommended torque values printed on your stem.