Over the past few years, I’ve had the chance to ride a variety of bikes—from sleek road machines to tough gravel explorers—and one thing I’ve learned is just how much smoother the ride becomes when your bicycle hydraulic brakes maintenance is done right. These days, most bikes come equipped with hydraulic disc brakes as the standard setup.
It’s a good shift from the older mechanical version, especially for those of us who ride through all kinds of off-grid terrain during weekend adventure rides. When I first switched from mechanical brakes to hydro systems, I immediately noticed the differences—not just in power, but also in how the brakes feel on long descents or tight corners.
The similarities might fool you at first glance, especially since both setups rely on a cable or lines, but the fluid-driven hydraulic system eliminates the need to manually increase tension through a barrel adjuster like we used to do.Instead, pad wear is automatically compensated for by the self-adjusting arrangement. This involves spending more time inspecting the discs, cleaning the brake lines, and monitoring the brake fluid levels as opposed to tinkering with cables.
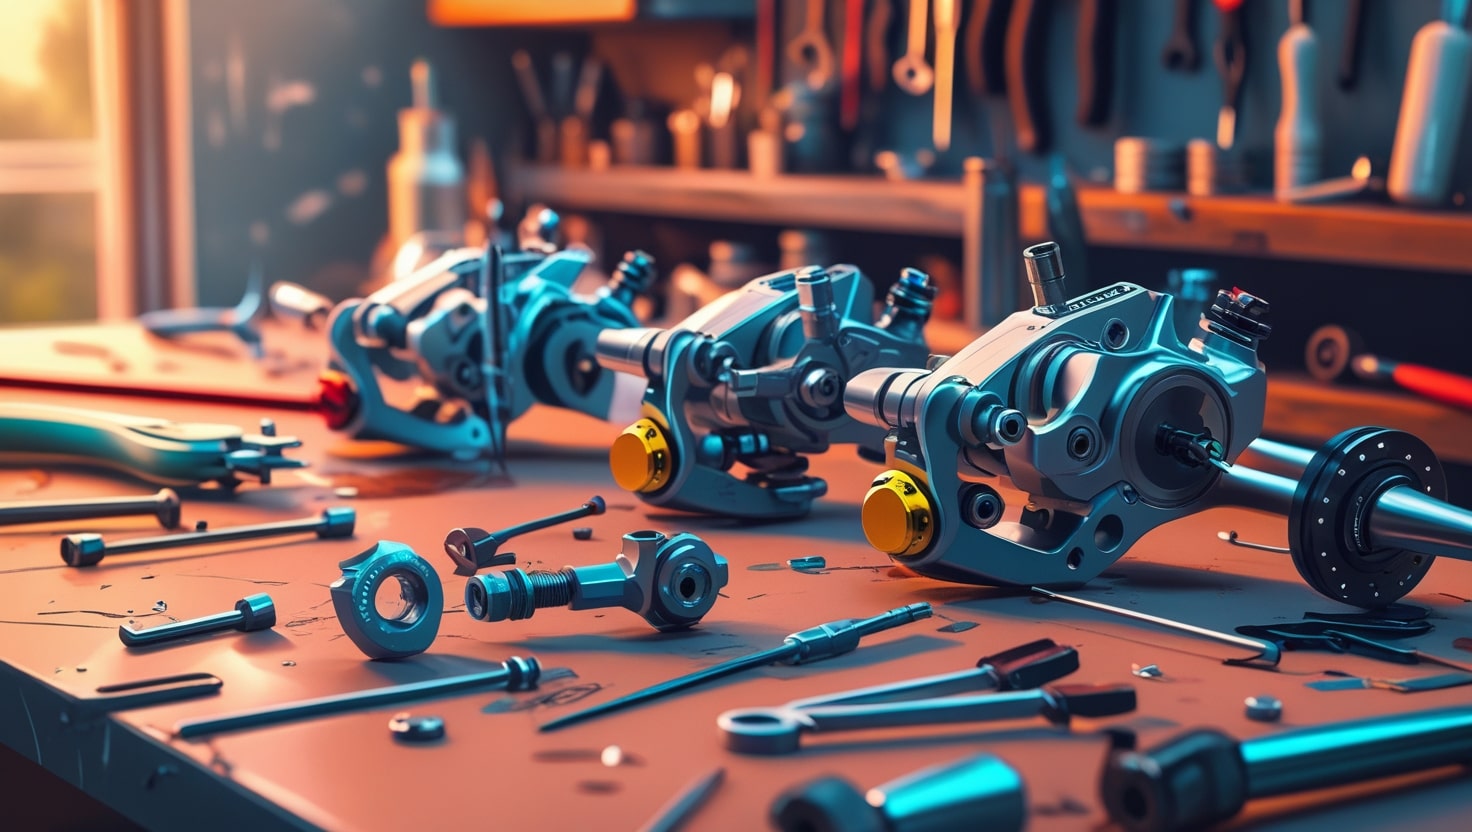
STEP 1: THE KIT REQUIRED
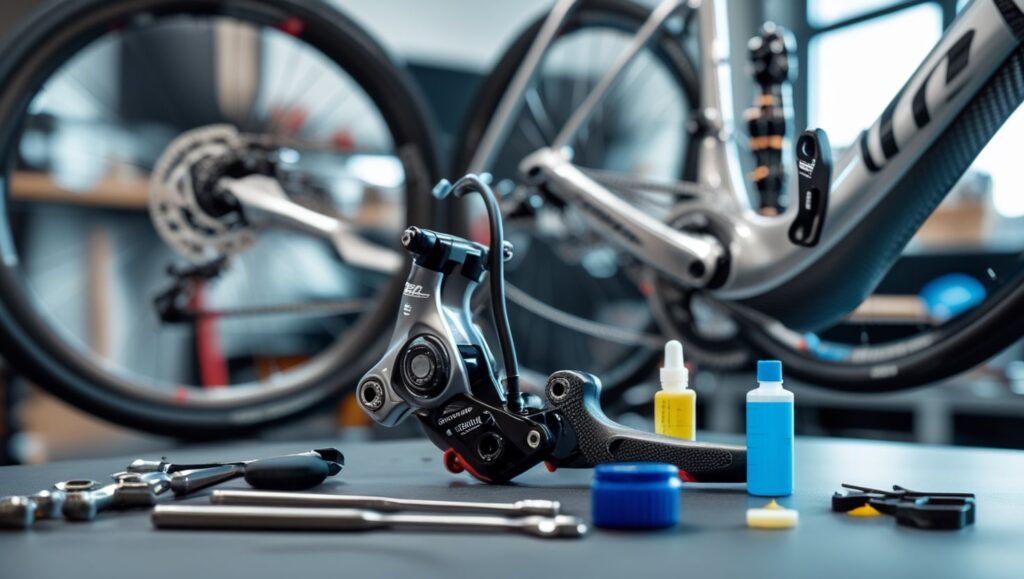
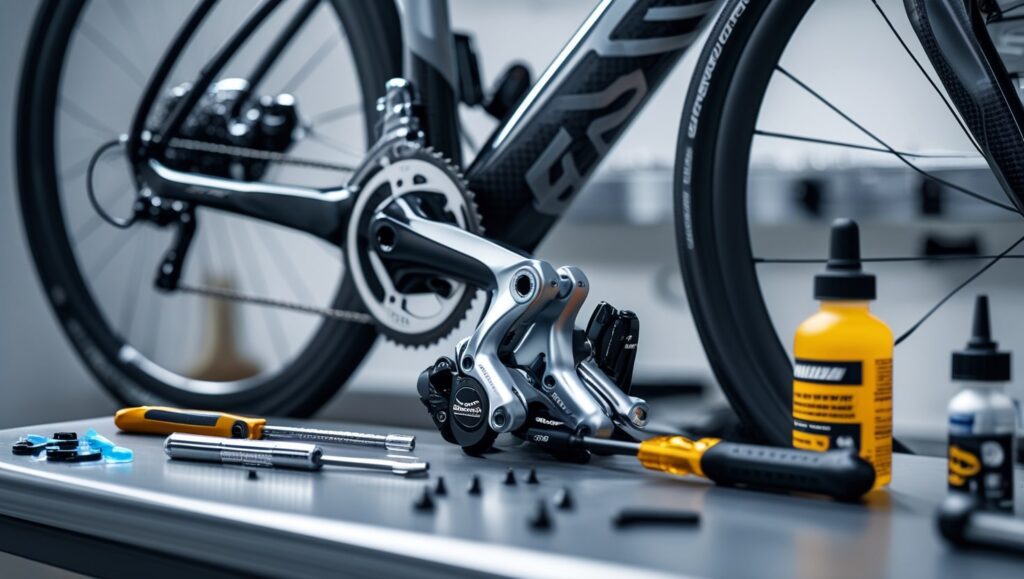
When I started working on my MTB brakes, the first thing I learned was how important it is to have the right kit—especially since every model can have subtle differences. A basic setup usually includes two syringes (or one syringe and a cup) connected by tubes that link to the purge sites on the brake system. You’ll also need brake oil, either mineral or DOT, depending on the model of your hydraulic circuit. Make sure the connection points are secure to avoid leaks during the process. For mechanical parts, a fork, some Allen tools, and various wrenches are essential to handle bolts and fittings without damaging anything.
STEP 2: PURGE PREPARATION
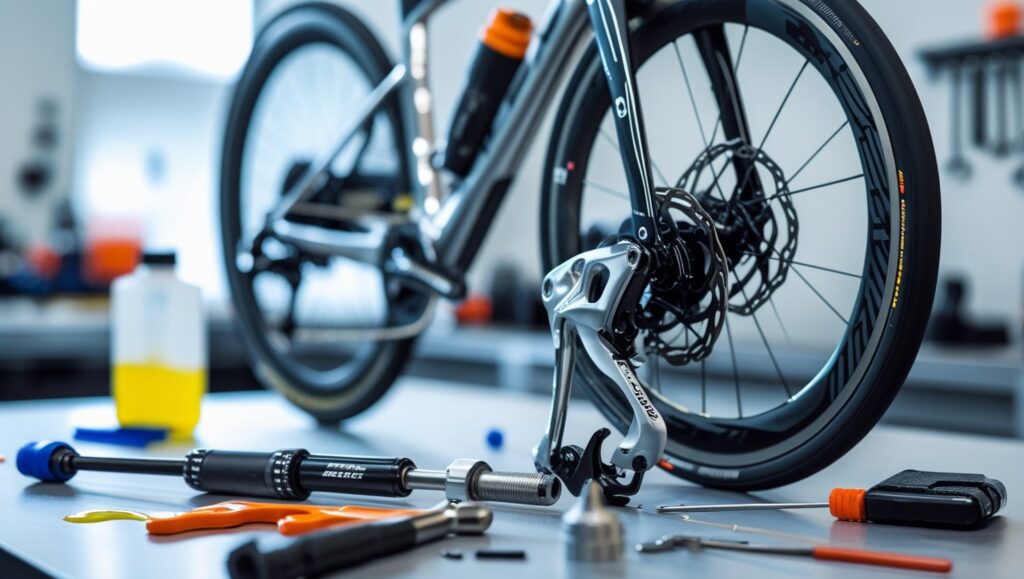
Before I start working on the braking system, I always place the bike on a stand to keep it stable and slightly inclined—this helps the air travel upward through the circuit. A correct angle is important so that the tube becomes as vertical as possible, making the ejection of bubbles much easier.
Then I gently loosen the brake lever and rotate it into a horizontal position to align it with the oil tank it’s connected to. At this point, I also loosen the caliper from the frame—both front and rear—so everything is free to move and properly aligned for purging.
Once that’s done, I removed the pads and inserted a bleed-block, also called a spacer, into the clamp to keep the pistons pressed and securely locked in place. I always double-check that the block fits snugly and doesn’t shift. Finally, I take off the purge nipples from both the caliper and the brake lever.
STEP 3: SYRINGE CONNECTIONS
At this stage of bicycle hydraulic brakes maintenance, I begin by attaching the tubes with threaded connection ends to both syringes. I remove the plunger from one syringe, then screw it—along with its tube and fitting—into the bleed hole on the brake lever.
For the other syringe, the one with the plunger, I draw in fresh oil until it’s about three-quarters full, making sure it’s the right type for the braking system. I then connect this one to the caliper for the actual purge process. On some models, rather than using a syringe without a plunger, there’s a cup that threads into the drain hole on the brake lever, which works just as well if you’re short on tools.
Related: What Is Singletrack Biking?
STEP 4: OIL INJECTION
With everything in place, I begin by loosening the tap on the caliper bleed valve—usually just a quarter turn is enough. Then, using a syringe connected to the brake clamp, I slowly press the plunger to inject the new oil into the braking circuit. As the fresh oil is inserted, the exhausted fluid already in the system is ejected upward through the purge on the lever block. If you’re using a second syringe, hold it vertically to allow it to fill properly. In some cases, your setup might use a cup instead, which will also collect the old fluid efficiently during the purge.
STEP 5: ELIMINATION OF AIR BUBBLES FROM MTB HYDRAULIC BRAKES
During this step of bicycle hydraulic brakes maintenance, I focus on getting rid of air bubbles that might be trapped inside the braking system. I gently begin by tapping the hose, which helps the ascent of any hidden air toward the top. Then I prepare my upper and lower syringe setup: before I start injecting fresh oil from the bottom, I first inject a small amount into the upper syringe.
Then, by slowly pressing the plunger on the bottom syringe, I draw a bit of oil from the circuit, allowing the air to be sucked in and eventually released into the syringe below. This method has always proven efficient for me, especially when done patiently after the main operation—it ensures your circuit is clean and the system runs smoothly.
STEP 6: CLOSE THE CIRCUIT
Once the exhausted oil has been pushed out and collected in the upper syringe or cup, I start wrapping up the operation by carefully disconnecting the tubes from both drain seat points. I make sure the openings are sealed using the same screws I had removed earlier. To avoid any leakage, I always choke the connecting tube with an elastic clip before taking off the syringe at the top. Then I close the tap on the hole at the lower end and remove that syringe as well. A quick wipe ensures no oil spills onto the bike or brakes, keeping the finish clean and the setup tidy.
Related: How to Flush Brake Fluid
STEP 7: RESTORING THE BRAKES AND CLEANING

Once I’ve finished the bleeding process, I always make sure the caliper is properly repositioned after being released from the bleed-block. I then check that it’s equipped with fresh pads and fixed firmly using the transverse locking screw. Next, I align the brake lever block back into its correct position and activate the lever a few times to test for smooth and solid brake operation. If I notice any drops of oil on the bicycle, I clean them right away to keep everything tidy and avoid long-term issues.
Related: How to Clean Motorcycle Brakes