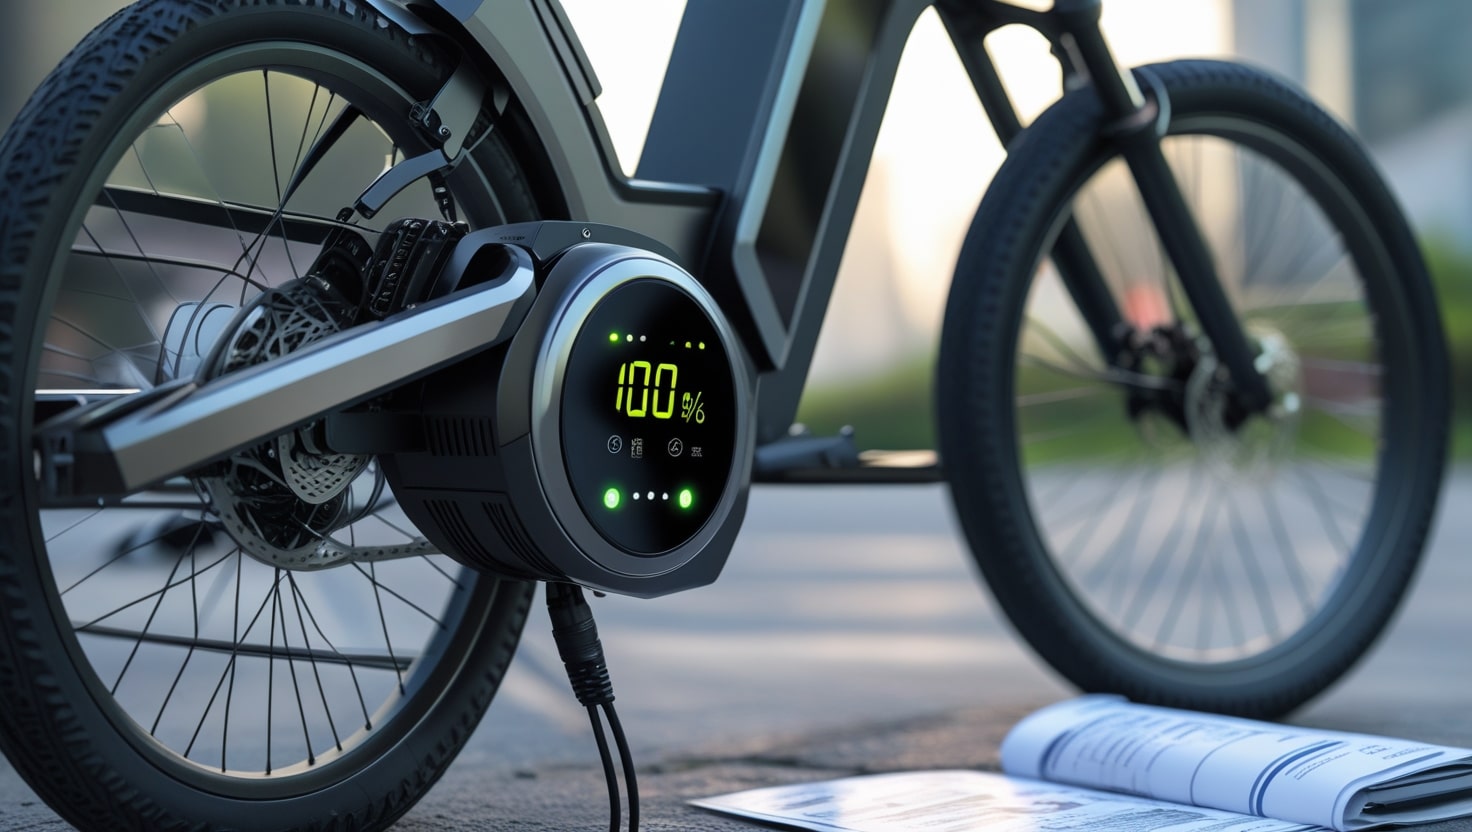
As someone who’s been riding an e-bike for years, I’ve come across nearly every issue you can imagine—from frozen screens to unresponsive controls and stubborn error codes. At first, it can feel overwhelming when the display stops working properly, especially when you’re mid-ride and relying on readings like speed, battery level, or distance to stay informed.
But I’ve learned that most malfunctions come down to small software glitches that can be cleared with a simple reset. Knowing how to reset eBike display isn’t just helpful—it gives riders the control to fix common problems on the go and get things back to normal quickly.
When the pedal-assist modes stop responding or the settings suddenly seem off, it’s usually time to look at resetting. Over the years, I’ve used a few simple methods to bring things back to life. A quick guide with the right steps can help you avoid unnecessary delays and enjoy a smoother experience. Just remember to adjust your settings after a reset and keep an eye on whether the display resumes working as it should.
When Should You Reset Your E-Bike Display?
Here are some useful indicators and explanations that will help you determine whether it’s time to reset the display on your e-bike.
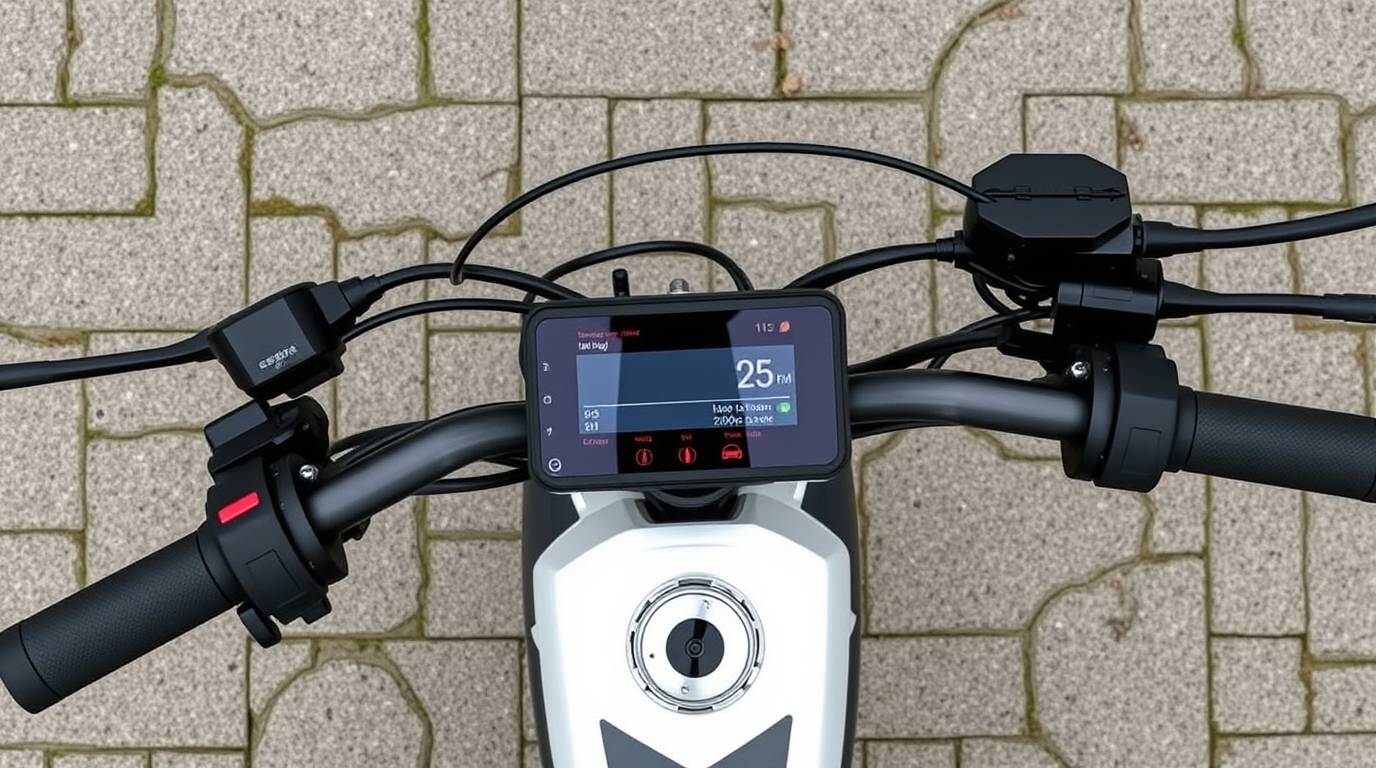
If your screen is frozen, stuck on one page, or not turning on at all, it’s a sign something isn’t right with the display.
You might notice strange data like wrong speed or missing mileage, which usually means it’s time to take action.
Random error codes, flickering lights, or unexpected warning signs.
After a firmware update or battery replacement, I’ve had cases where the system didn’t sync properly, causing small glitches or full software hiccups.
These updates often fix bugs, but sometimes they create new ones—and that’s when a reset really helps.
Whether the battery is acting off or the update didn’t go smoothly, a quick reset has always saved me from a long troubleshooting session.
Things to Check Before Resetting
It’s a good idea to briefly check a few essentials before proceeding with the reset because, more often than not, the problem isn’t with the display itself but rather something small.
Always make sure your battery is fully charged, as low power is often the simplest cause.
Take a moment to inspect the wiring and display for any visible damage that may affect how the system works.
Check that all cables are connected properly and none feel loose—a slightly unplugged wire can make a big difference.
If you’ve just been on a ride through heavy rain or encountered moisture, that could be affecting the electronics.
Your user manual is a helpful tool—some specific model types include unique resets, so always double-check the instructions there.

How to Reset eBike Display: Step-by-Step Guide
Step 1: Turn Off the E-Bike
To begin the reset process safely, always make sure the bike is turned off. I’ve found it’s best to shut everything down, not just the screen—think of it like rebooting a computer. That means switching off the power and, if your model allows, pulling the battery out completely. This ensures the system is fully powered down and avoids the risk of damage to the display or other components.
Step 2: Disconnect the Battery
Once the bike is off, the next important step is taking the battery out—especially if it’s removable. This helps clear any leftover charge and makes sure the system is completely powered down. In my experience, even a brief disconnection makes a big difference before moving forward. If your model has a built-in battery, just leave it off for a few minutes to let things settle before heading to the next phase of the reset.
Step 3: Locate the Reset Function or Button
At this point, the next step is to locate the actual reset method, which can vary based on your model. Some displays feature a physical button tucked on the side or back, while others hide the option within the menu of the display. I’ve found that a small pin or paperclip works best when you need to press into a tiny hole to trigger the reset. For models requiring a button combo, try to hold down Power and Mode buttons together for a few seconds. If you’re unsure, always check your manual or look it up online to use the correct approach.
Step 4: Press and Hold the Buttons to Reset
Once you’ve found the right method, hold the reset buttons down for a few seconds until the screen goes black or restarts. On many models, the display will turns off and then come back on, often showing a brief logo or flash of a message before fully resetting. This is totally normal, and in my experience, the display will usually return to working order once the process resets everything properly.
Step 5: Reconnect the Battery
After the reset, it’s time to slide the battery back into place until it clicks securely. From my own experience, loose connections are one of the most common causes of weird display issues, so double-check everything before moving on. Make sure the terminals are clean—use a cloth to wipe away any dirt or moisture before reconnecting.
Step 6: Power the E-Bike Back On
Once everything is set, flip the power switch to turn the bike back on and watch the screen closely. If the display lights up without any frozen screens or errors, you’ve likely done the reset correctly. But if it’s still acting strange, don’t worry—go through the process again, and start checking things like wiring or the controller.
Alternative Reset Methods for Different E-Bike Displays
Don’t worry if the conventional reset method doesn’t work; depending on the model and brand, there are still various ways to reset your e-bike’s display. Here are some alternatives to consider!
1. Factory Reset via Display Menu
Some e-bikes offer a built-in factory reset right in the menu, which is by far the easiest method I’ve used. Just go into the settings on your display and follow the simple steps provided to restore the bike’s functionality. This is especially helpful when the issue isn’t hardware-related and doesn’t require extra tools or mechanical skill. Many newer models support these quick resets.
2. Using a Combination of Buttons
If the display is frozen or showing glitches, and the menu isn’t responsive, try pressing a few buttons together. I’ve had success pressing Mode + Power, or even Up + Down + Power, depending on the model. These combo resets are a great alternative when the normal options don’t work. You may need to hold the buttons for several seconds until the screens reset. It’s always a good idea to refer to your manual for these hidden tricks, especially for stubborn issues that don’t respond to regular steps.
3. Refer to Manufacturer's Instructions
If nothing else works, it’s time to check the manufacturer’s guide. Some brands use their own unique reset steps, and they may even require an app, special tools, or a specific button press sequence to fix the display. I’ve seen cases where the user manual had just the right solution that wasn’t obvious at first. Make sure to match the guide to your exact model, as pressing the wrong combo might not do anything.

What to Do If the Reset Doesn’t Work
If the reset doesn’t solve the issue, don’t worry—there are still a few things you can try. Start by doing a double-check on the basics. Is the battery fully charged? Are all the cables snug, clean, and connecting properly? Sometimes a loose connection or a faulty wire is all it takes to throw off your display.
Try unplugging and replugging the connectors, and make sure everything is firmly in place between the controller and display. Such minor adjustments can have a significant impact.
If everything still looks fine, move on to checking for software updates from your bike brand, or reach out to customer support for help. I’ve personally had a situation where the problem required a professional tech to test the e-bike wiring and find the root cause.
Sometimes it’s a quick fix, other times you may be looking at replacing a part—but either way, it takes the guesswork out of the process and ensures you’re not overlooking something simple.
Tips to Avoid Display Issues in the Future
Maintaining the condition of your display can be greatly improved by following a few simple measures. Consider including these easy routines:
Always clean your display with a soft cloth—avoid harsh cleaners that can damage the screen.
Never leave your bike out in freezing cold, heavy rain, or wet conditions for long periods.
Avoid pressure-washing near sensitive parts like the display or battery to prevent moisture damage.
After a bumpy ride, take a minute to check your wiring and connections to make sure everything is snug and secure.
Regularly install firmware updates if your system supports them—this keeps your setup running smoothly and can fix hidden bugs.
Conclusion
Understanding how to reset your e-bike display can make a big difference in your riding experience. Whether you’re dealing with frozen screens, incorrect readings, or strange error codes, a simple reset using a clear step-by-step guide can fix many common issues. Based on my own experience, following the right tips and troubleshooting methods not only restores your display’s functionality but also gives you the confidence to handle problems quickly and get back on the road without stress.
To keep things running optimally, regular maintenance and checking for firmware updates is key. Refer to the manufacturer’s guidelines to ensure your system performs as it should. Keeping your e-bike in top shape helps reduce disruptions and leads to more enjoyable rides. If you stay proactive and use the right guide, your display will stay reliable for the long haul.
FAQs
Can a factory reset erase my mileage or settings?
In some cases, a factory reset may clear things like trip data, ride stats, or your custom settings, depending on your display model.
Where is the reset button located?
The location of the reset button can vary depending on your brand and display model. Some displays have a tiny button tucked on the back or side, while others rely on button combinations found in the settings menu. In my experience, if it’s not immediately visible, your best bet is to check the user manual—it usually points you in the right direction for your specific setup.
Will a reset fix battery level issues?
If your display is showing incorrect battery info, a reset can often fix it by clearing glitches and refreshing the system. I’ve had moments when my screen wouldn’t show the real charge level, but after a quick reset, it worked fine again. However, if the battery isn’t holding a charge at all, the problem might not be with the display—it could be the battery itself needing attention.
How often should I reset my display?
You only need to reset your e-bike display when something isn’t working as it should—like when you notice frozen screens or unusual error codes. If your system is running fine, there’s no reason to do it regularly.

