As a bike mechanic with years of hands-on experience, I’ve learned that knowing exactly how to remove crankset is one of the most useful maintenance skills you can develop. The procedure is much the same whether you’re taking it out for maintenance, swapping it out for a new one, or upgrading to a more sophisticated Shimano or Campagnolo type.
Let me walk you through a step-by-step tutorial that works for all four common types of cranksets—including self-extracting models like SRAM and FSA, as well as traditional square-taper designs. It’s worth mentioning that double-checking your bottom bracket before starting is essential to ensure the bracket is compatible with the crankset you’re going to fit later.
From my experience, every removal starts with identifying the type of crankset you’re dealing with. Some bikes come with self-extracting models that don’t need extra tools, while others, like square-taper or FSA, might require a special puller. Once you check the type, you’ll start removing the crank arms by following the step-by-step process I’ve used countless times in my workshop.
Self-Extracting Cranks
Removing self-extracting cranks is something I always recommend to beginners because these systems make the job much easier. What’s great is that the puller is already built into the crank, so you don’t need additional tools. These devices resemble dust caps and have threaded rings that sit over the bolt. When you start loosening the bolt, the shoulder presses against the retaining ring, and this pushes the arm back from the spindle slowly and safely. This design effectively handles the removal without much effort.
I’ve worked on both two-piece and three-piece forms, and these systems exist to suit different bike models. Whether you are using it on a road or mountain bike, you just use the same simple steps. Once the crank is loosened, the arm will slide right off, leaving the spindle clear. This makes self-extracting setups perfect for anyone who wants a clean and tool-free removal experience.
Two Piece Compression Slotted Cranks
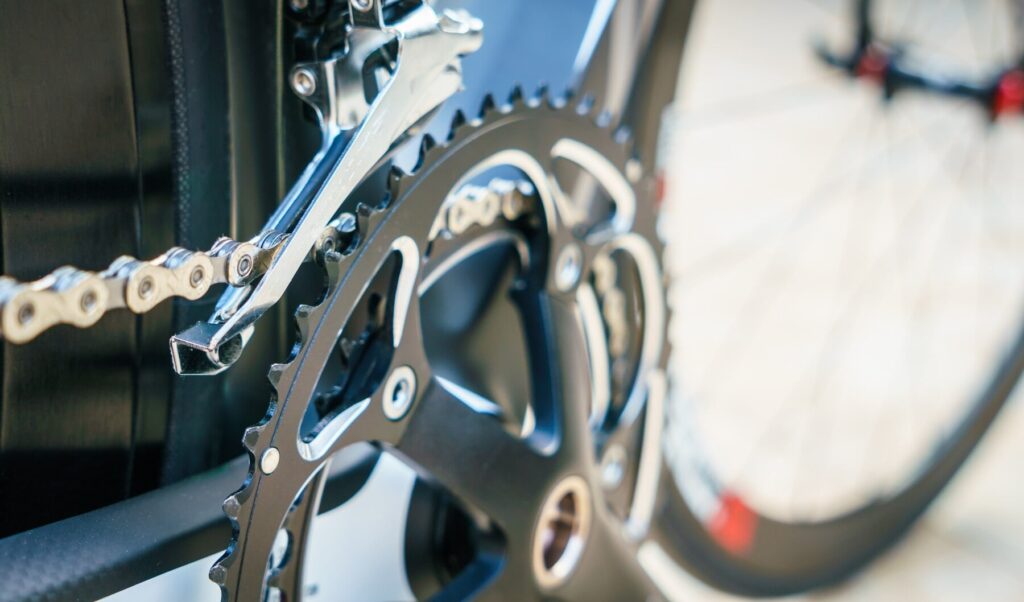
If you own Shimano® or FSA® cranksets, you might notice they often come with a two-piece system that makes removal a little different. These systems feature a left arm with a compression slot, secured by pinch bolts, and a right arm with an integrated spindle. The best part is that they don’t require a traditional crank puller at all because they use external bearing cups. From my experience, this slotted system is easy to manage—you just loosen the bolts, slide off the arm, and the crank comes off smoothly without extra tools.
Campagnolo® Power-Torque™ Cranks
The Power-Torque™ crank system is a little different because the spindle is integrated directly into the drive side crank. From my experience, the first step is to get the left crank removed to reach the bearings or to remove the right crank if needed. I’ve worked on this design several times, and while it seems tricky at first, it actually follows a smooth process once you understand that everything starts with taking off the left crank before touching the right side.
Campagnolo® Ultra Torque™ Cranks
Working with Ultra-Torque™ crankset systems from Campagnolo® and Fulcrum® is something I’ve done many times, and they are known for their proprietary design. In this system, both the left and right arms come fitted with one-half of the spindle, featuring teeth machined into each end. This design, in contrast to others, makes use of external cups; nevertheless, the bearings are fixed to the cranks rather than integrated within the cups. This design requires extra care when handling the bearings during removal or installation.
One thing I always check carefully is the wavy washer placed inside the left cup. This little washer plays a big role by providing adjustment for variations in frame shell widths, ensuring the crank spins smoothly. I recommend paying attention to how the washer sits, as incorrect placement can affect bearing life and overall system performance. This Campagnolo® design is unique, but once you understand it, removal and reassembly become much easier.
Three Piece Cranks
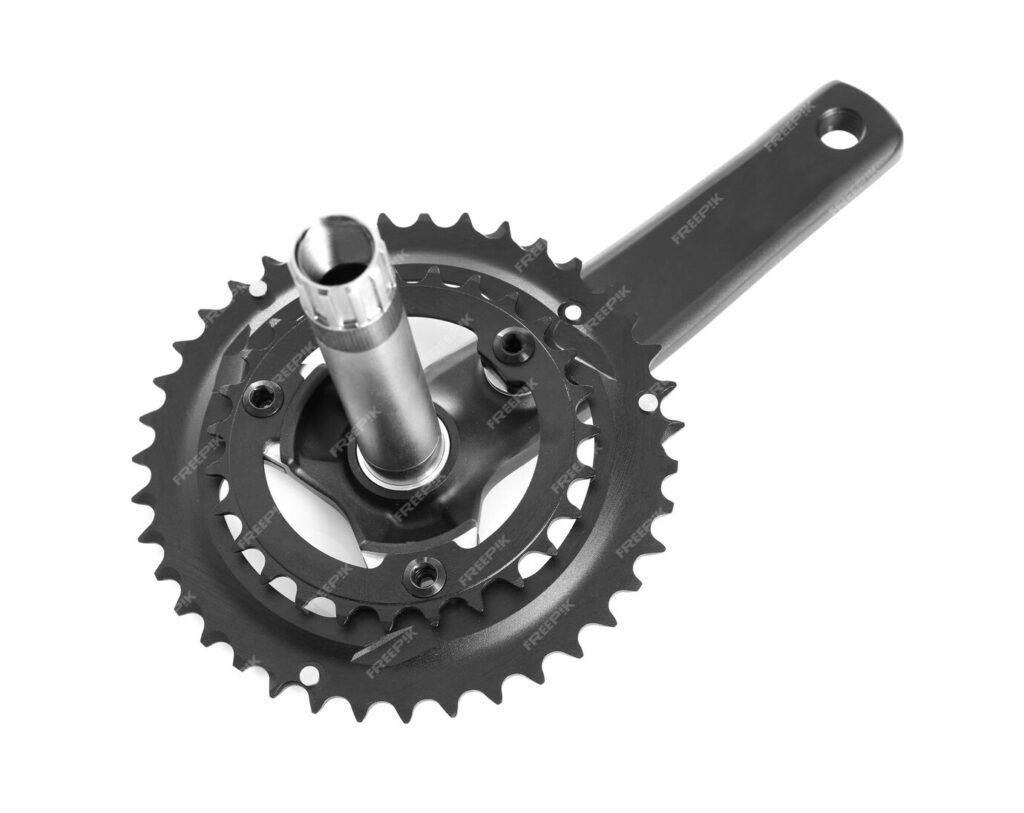
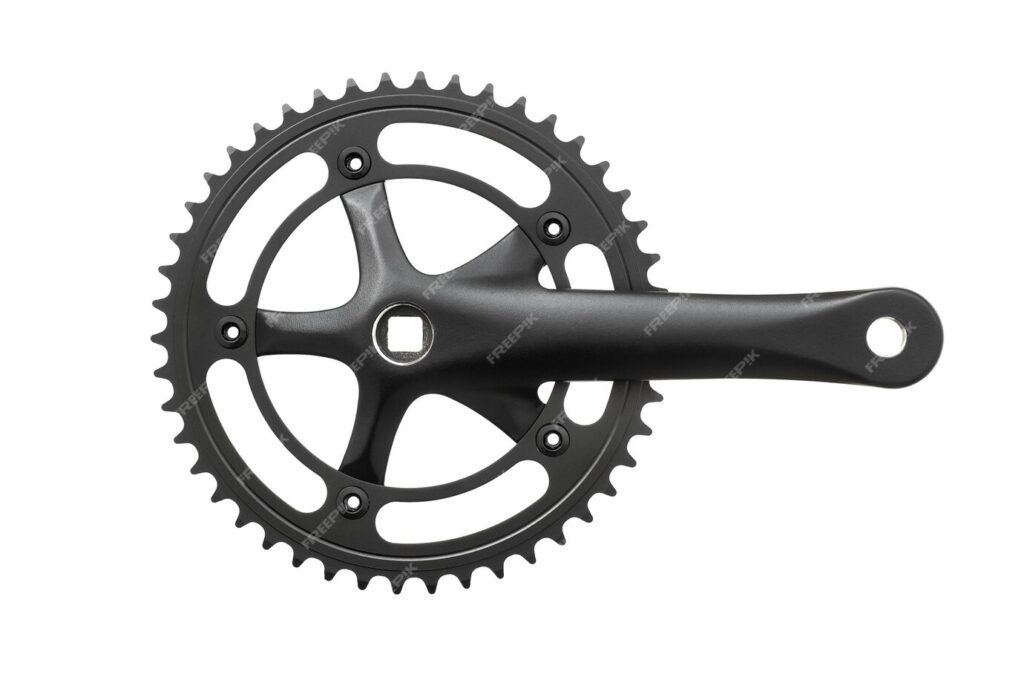
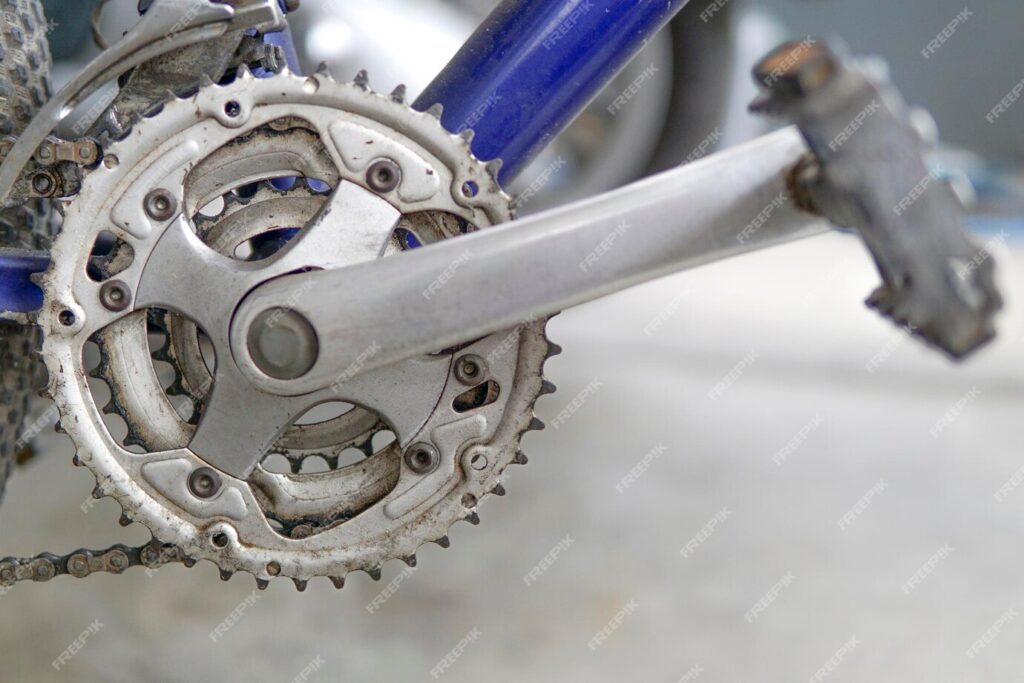
The three-piece crankset system is one I often see on older or budget-friendly bikes, and it’s made up of three parts—the left arm, right arm, and the axle spindle. The spindle sits in the frame, held in position by bearings that sometimes need service or replacement to keep the bike running smoothly. To do this, both cranks must be removed, and you’ll find bolts in the arms holding them in place. These cranksets usually come with one of two interfaces: square or splined, and knowing the difference helps you choose the right tools and approach when removing or installing them.
BMX Three Piece Cranks
I’ve worked on a lot of BMX and freestyle bicycles, and they often come with a unique crank system that uses a 48-spline spindle. Despite having a similar appearance to typical three-piece cranksets, these require a somewhat different servicing procedure. You’ll need to follow a specific method to safely remove or adjust them without damaging the parts. In my experience, taking your time and using the right tools for these BMX setups makes the job much easier and helps keep your bike in top shape.
Related: What Size of Inner Tube Do I Need?
One Piece Cranks
If you’re working on older Schwinn® bicycles, children’s bikes, or BMX bikes often sold in department store-type outlets, you’ll likely come across one-piece cranks. These cranks are made from a single piece of steel that forms the arms and runs from one pedal, through the bottom bracket, to the other pedal. What makes them different is that the crank itself also works as the bearing axle, combining multiple functions into one simple part. I’ve removed plenty of these in my workshop, and while they seem basic, they require care when taking them apart to avoid damaging the bracket area.
How to remove your road bike's crankset
1. Loosen the left-hand crank bolts
To begin the removal process, I always start by grabbing a 4mm Allen key to carefully loosen the hex bolts that hold the left-hand crank arm onto the spindle. From my experience, it’s important to fully loosen these bolts so the arm can move freely, but make sure not to remove them completely just yet.
2. Remove the adjustment cap
After loosening the bolts, I reach for my bottom bracket tool and fit the black smaller ring right into the crank arm adjustment cap. If the two hex bolts are loosened sufficiently, the cap should screw out with little effort. Sometimes it feels stuck or isn’t moving, but don’t force it. Instead, I always repeat step 1 to check if the bolts are loose enough. Once done properly, you can remove the adjustment cap easily without risking damage.
Related: Coaster Brakes vs Hand Brakes
3. Remove the crankset
After removing the cap, you should now be able to pull the left-hand crank away from the spindle easily. Once it’s removed, the right-hand side crank, with the spindle still attached, can slide out of the bottom bracket. Sometimes the crank feels stuck or won’t budge, so I usually ease it out by tapping the end of the spindle with a rubber mallet. To prevent harming any component of the crank or spindle, always cover the end with a cloth and use light force.
4. Clean up the bottom bracket
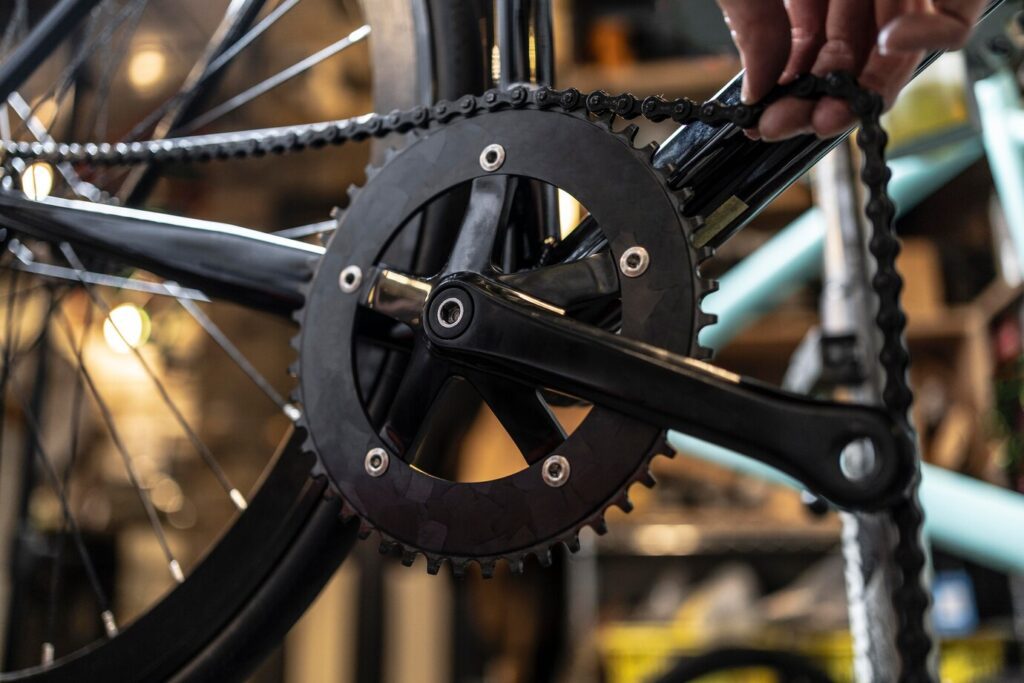
Once the crankset is out, I always wipe the BB area with a cloth to clear away any gunk and inspect the shell for loose bits. Next, I start checking how smoothly the bearings roll. I swap out the BB if they are notchy or gritty. For external Hollowtech-type setups like the one pictured, I use a bottom bracket tool to unscrew the old one and fit the replacement.
5. Put it all back together
When replacing the crankset, I always clean it first to remove any old grease or dirt. Then, I apply a small dab of fresh grease to the spindle before I push it back through the bottom bracket. Sometimes, I use a mallet again to make sure it goes all the way through smoothly. Next, I add grease to the splines at the end of the spindle, and then refit the left-hand crank, making sure it is perfectly aligned before tightening it back up.
6. Retighten the bolts
Now it’s time to replace the adjustment cap by screwing it back gently using your Bottom Bracket Tool. Be careful not to overtighten it, as this could damage the bottom bracket bearings. Next, grab your torque Allen key to tighten the crank arm bolts properly. The recommended torque is usually shown on the crank arm—for example, 15-20 Nm is common for Shimano crankset models. Following this step carefully makes sure your crank is secure and ready to ride.
Related: How Much Does a BMX Bike Cost?