

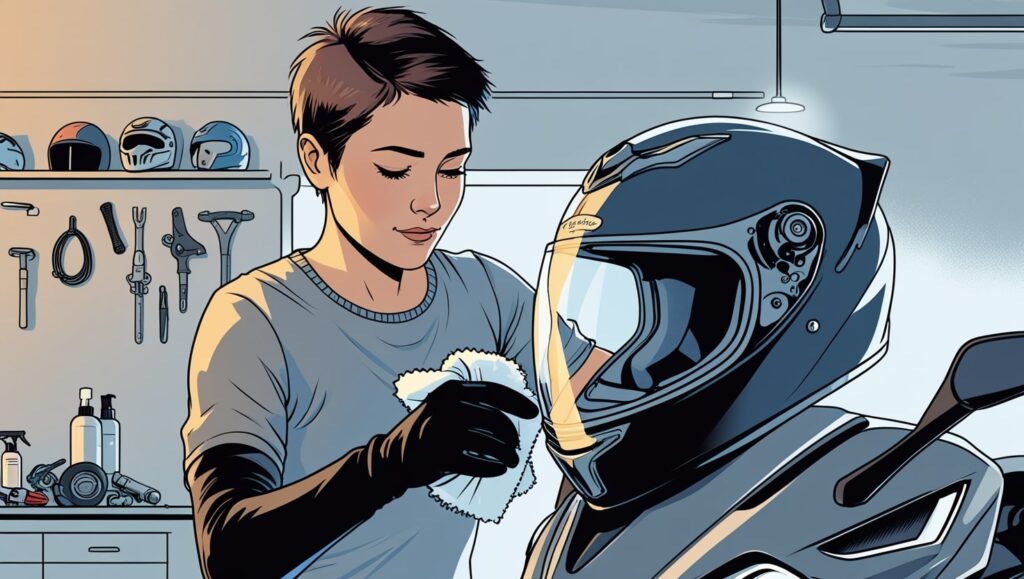
When you’re out riding, especially over long distances, your helmet becomes more than just protective gear—it’s part of the whole experience. I’ve been on countless motorcycle rides, and I know how quickly dirt, sweat, and grime can start to build up both inside and outside the visor and shell. This isn’t just unpleasant—it can affect your visibility, which directly impacts your safety and even helmet performance during a potential crash.
That’s why it’s so important to take a moment, even in a rush, to give your gear the attention it deserves. No matter how glossy or matte the finishes on your helmet are, giving it a deep, careful cleaning can make a big difference in how comfortably and safely you ride. I always make time to periodically clean my helmet, and honestly, it keeps it feeling fresh every time I head out.
One of the best tips I can offer from years of motorcycle maintenance is to use the right products for each part—the visor, the interior, the exterior, and any leather components. Each has different needs, and using proper cleaning tips and tricks helps extend your gear’s life. If you’re short on time, don’t skip it—just go for a quick refresh. I often share a personal summary of these tips in my blog articles, especially focused on how to clean motorcycle helmet visor properly.
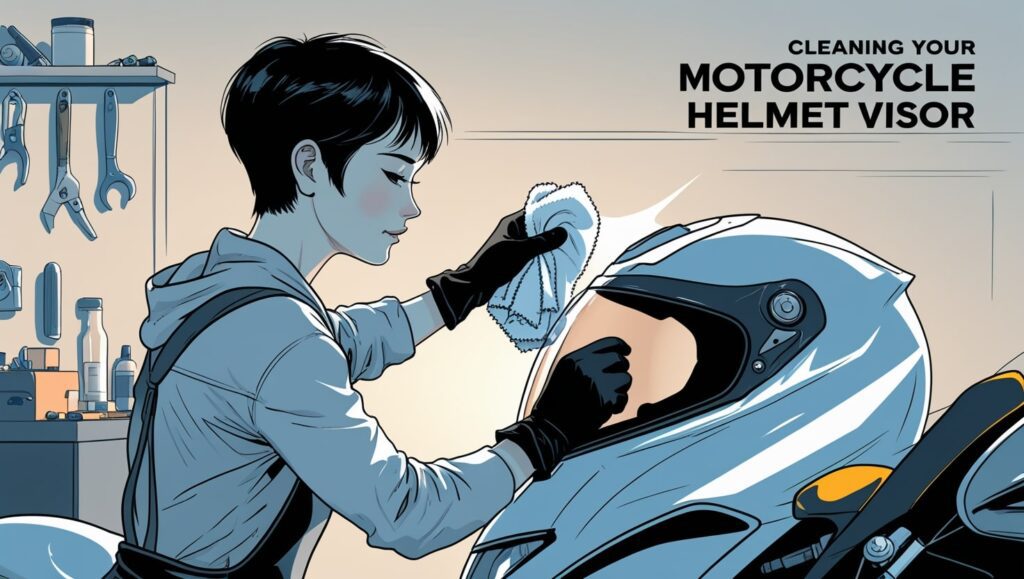
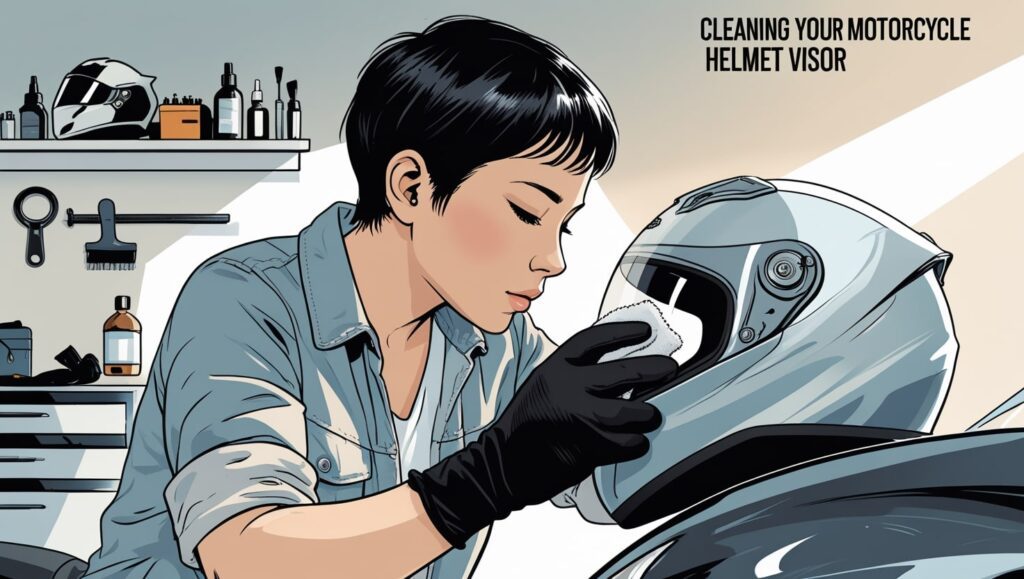
How to clean motorcycle helmet visor
Keeping your helmet in top condition means giving the visor the attention it deserves. Over the years, I’ve learned that you should avoid rushing this operation—never try to clean your visor while driving. It’s not just a matter of keeping things neat; it’s about safety. A dirty visor can reduce visibility, and using the wrong method could lead to scratching or worse, irreparably ruining the surface.
I’ve even seen people wipe with gloves on, not realizing that seams or rough parts might leave marks. If visibility drops mid-ride, don’t push through—stop, take off your helmet, and handle it calmly and carefully. Taking proper precautions helps you steer clear of unnecessary damages and risk.
What’s worked best for me is to dampen the visor with water, then add a bit of mild, liquid soap to a soft, non-abrasive cloth or fabric. Gently remove any dirt or debris without using force. The drying stage is just as critical. I always go for a microfiber cloth to avoid any chance of a scratch, especially on colored, mirrored, or delicate finishes. Transparent visors tend to be more forgiving, but every visor deserves the same level of care. By making this a habit, I’ve kept my helmet clean and my rides safe.
Related: How to Measure for Bike Helmet
How to clean Pinlock visor
If your helmet has a pinlock insert, knowing how to care for it properly is just as imperative as cleaning the main visor. The anti-fog layer works by creating an air gap between the visor and the insert, which helps keep it moisture-free. But when fog starts to form, your visibility can drop quickly.
That’s why regular cleaning is a must. Start by gently removing the pinlock by slightly bending the visor and using your fingertips to pop out the edges. Once removed, clean it using a visor cleaner, the same way you’d clean your main helmet shield. Be sure to give it a thorough drying before reinstallation—leftover moisture inside can lead to condensation and even more issues.
To reinstall it, bend the visor again and hook one edge of the pinlock insert into place. Then gently snap the other side until the silicone seal makes full contact. I always do a quick check by looking through the visor to confirm the optical clarity is intact and there’s no distortion.
I’ve found that periodically cleaning the insert this way helps maintain its performance even in tough conditions like rain or humidity. The last thing you want is surprise fogging when you need a quick reaction during tricky traffic or sharp turns.
How to clean motorcycle Helmet Interior
Over time, the inside of your helmet collects sweat, oils, and bacteria, which can build up and cause strong odors. One of my go-to methods is spraying an antibacterial interior cleaner like Motul, especially after long summer riding days. Make sure you get all the padding surfaces evenly coated. Let the cleaner sit for the recommended time so the solution can sanitize the lining properly. Once it’s dry to the touch, you’ll notice a fresh scent that makes wearing your helmet much more pleasant.
For a deeper clean, I like removing the cheek and comfort padding when the ride’s been particularly dusty. Your helmet manual usually shows how to remove and install them the right way. Once out, I hand wash each piece with warm, soapy water, then rinse them thoroughly. Let everything air dry fully before reassembly—this step is critical for both comfort and avoiding mold growth. Doing this kind of extensive interior cleaning now and then not only keeps your helmet feeling fresh, it also maintains a healthy environment every time you ride.
How to Clean Motorcycle Helmet Exterior
The outer shell of your helmet takes a lot of abuse from weather, road debris, and long hours of riding, so keeping the surface clean is more than just about looks. I always make it a habit to inspect for hairline cracks or hidden damage from small impacts every time I wipe it down. Depending on whether your helmet has a glossy or matte finish, use the right cleaning technique to avoid ruining the surface. Proper care of the exterior not only keeps it looking sharp but also helps preserve its reliable impact protection for many miles on the road.
How to Clean a Glossy Motorcycle Helmet
When it comes to glossy helmets, I always stick to what’s recommended—a dedicated helmet cleaner designed specifically for the exterior shell. Avoid using dish soaps or generic cleaners, as they can damage the protective coatings. I like to spray the cleaner liberally over the outer surface and let it sit for a minute. After that, I gently begin wiping the clean area with a fresh microfiber cloth to get that smooth, polished finish back without leaving streaks.
It’s important to be careful while cleaning, especially when the helmet surface is dry, as this can cause swirl scratches. If the cleaner starts to evaporate too fast, I simply reapply and wipe again. I also give special attention to the air vents, spraying cleaner into the openings and using a soft-bristle brush to dislodge compacted bugs or dirt.
Every cleaning session is also a great opportunity to check for any underlying issues. I always inspect my helmet for small chips, cracks, or dents, which may have resulted from an unnoticed impact.
How to Clean a Matte Helmet
Matte helmets need special care because using harsh cleaners or improper wiping can leave shiny spots and ruin their subtle finish. I always use a dedicated surface cleaner made specifically for matte helmets, and I make sure to check the label for proper application. Usually, I spray the cleaner onto the helmet, let it penetrate for a few minutes, and then gently buff it off with a microfiber cloth.
The matte cleaner does a great job of breaking down stuck-on grime and helps restore the original finish. Sometimes it takes more than one application, especially if the helmet is heavily soiled. I take my time and let the product do the work—this is key to proper cleaning. When done right, you keep that stealthy, low-sheen appearance that many riders love, while getting rid of all that dirt and oily residue that builds up over time and dulls the look.
Caring for the Leather Parts
Some premium helmets include leather elements in their design, such as padded trim, neck roll, or comfort panels—and these parts need just as much attention as the visor. To keep the leather conditioned and supple, it’s important to prevent drying and cracking over time. I always use a dedicated leather care product to clean and condition these helmet components. I apply a small amount of cleaner onto a microfiber cloth, then wipe the sections using a circular motion for even coverage.
Let the cleaner sit for 2-3 minutes so the conditioners can penetrate deeply and begin lifting any dirt or grime. After that, I give the leather a gentle buffing with a clean, dry microfiber to finish the job. This process leaves the leather feeling smooth, refreshed, and looking great while retaining its natural, protective oils.