
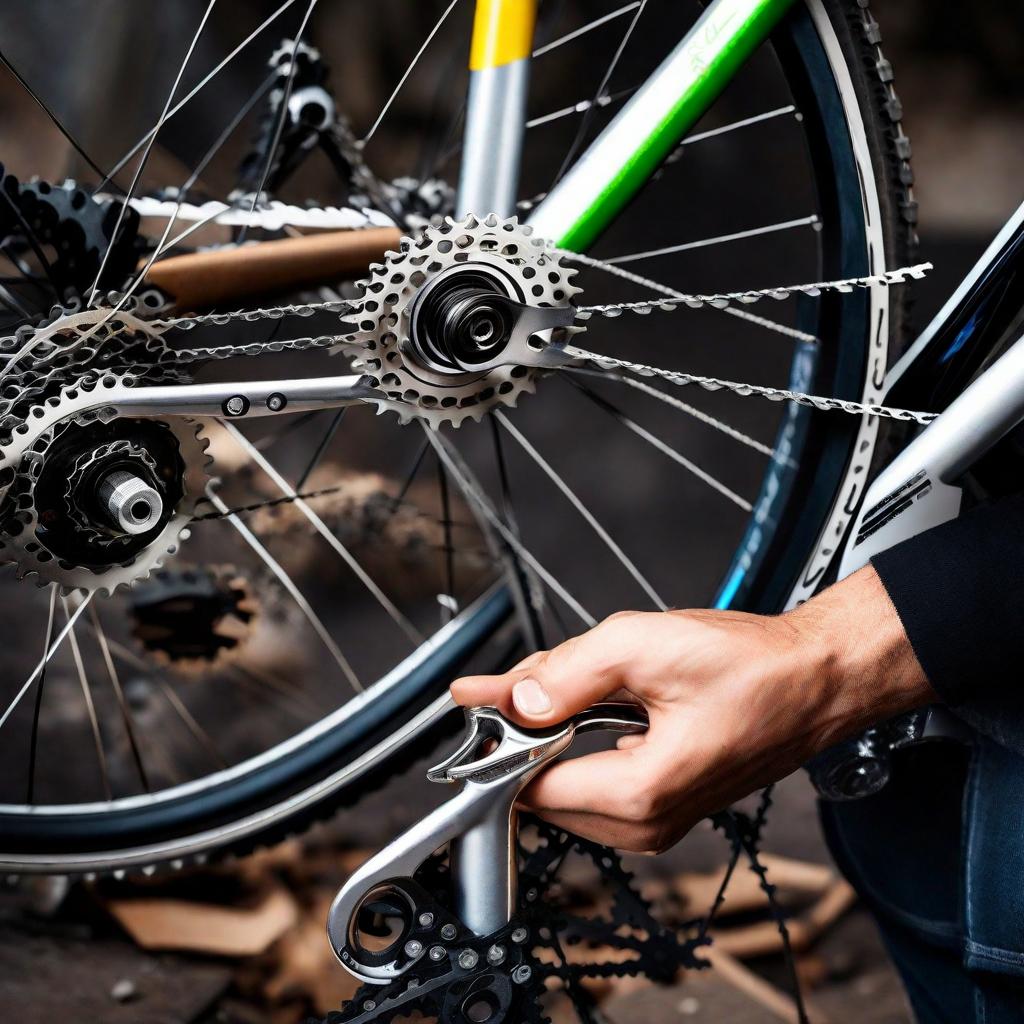
Road cycling Remove bicycle gear set from your bicycle might seem like a daunting task, especially if you’re not familiar with bicycle maintenance. However, with the right tools and a systematic approach, it can be a straightforward process. In this guide, we’ll walk you through the steps to safely and effectively remove the gear set from your bicycle. sunglasses are specifically designed to meet the unique demands of cyclists, offering features such as lightweight materials, aerodynamic designs, and enhanced UV protection
Expert RecommIntroduction to Removing Bicycle Gear Setendations
Before diving into the specifics, let’s understand why you might need to remove the gear set. Whether you’re upgrading your components, performing maintenance, or troubleshooting issues with your gears, knowing how to remove the gear set is essential for any cyclist.
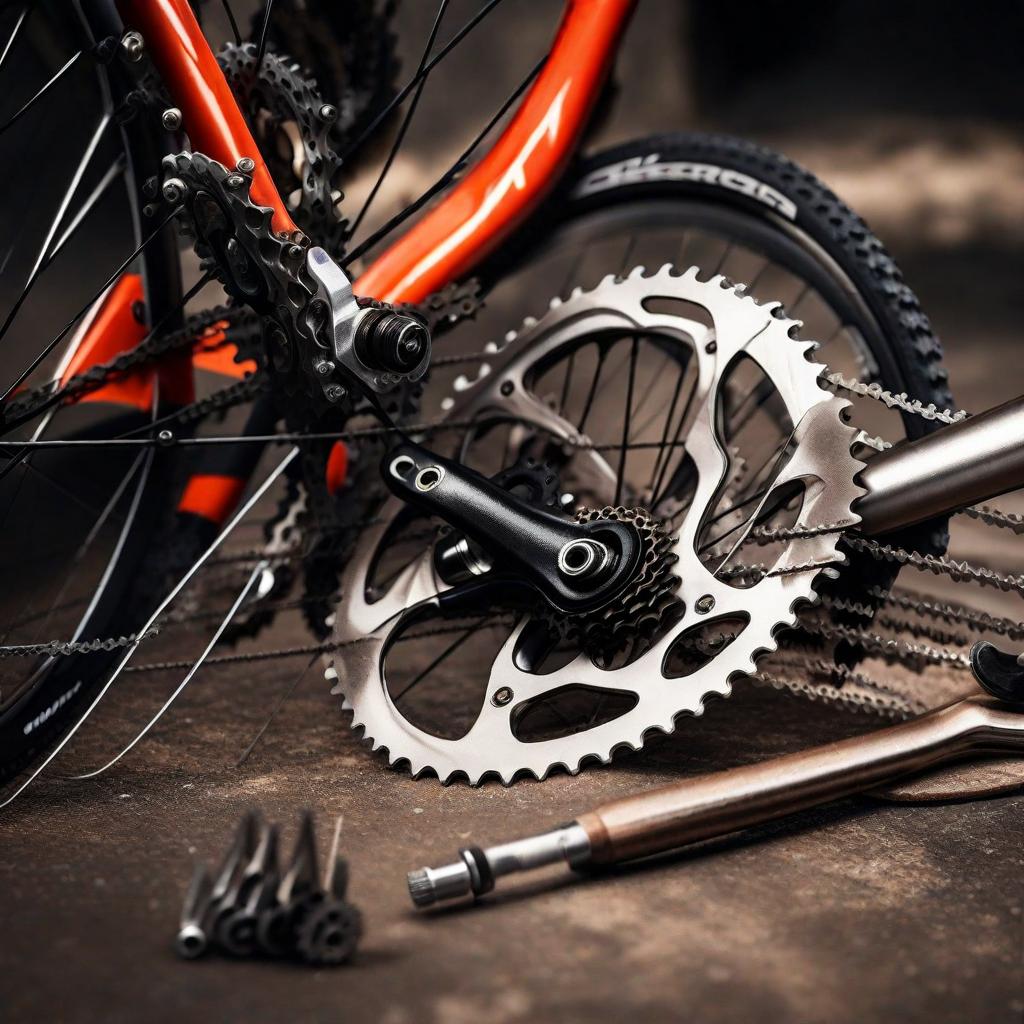
Tools Required for Remove Bicycle Gear Set
To successfully remove bicycle gear set, you’ll need a few essential tools:
- Allen keys or wrench set
- Chain whip
- Cassette lockring tool
- Adjustable wrench
- Grease
- Rag for cleaning
Make sure you have these tools on hand before starts to remove bicycle gear set .
Preparing Your Bicycle for Gear Set Removal
Remove bicycle gear set requires careful attention to detail and the right tools for the job.Before getting started, it’s essential to prepare your bicycle:
- Carefully separate the wheel and keep it in a safe place for later use
- Shift your gears to the smallest cog on the rear cassette to make removal easier.
- If you have disc brakes, ensure they are properly aligned and not rubbing against the rotor.
Step-by-Step Guide to Remove Bicycle Gear Set
When it comes to maintenance or upgrades, knowing how to remove the bicycle gear set is essential for cyclists of all levels.
Removing the Rear Wheel
- Open the quick-release skewer or loosen the thru-axle to release the rear wheel from the frame.
- Carefully remove the wheel and set it aside.
2. Disengaging the Derailleur
- Move the rear derailleur to the smallest cog position.
- Use an Allen key to loosen the bolt securing the derailleur to the frame.
- Gently slide the derailleur off the frame and set it aside.
3. Removing the Cassette
- Place the cassette lockring tool securely into the lockring on the cassette.
- Use an adjustable wrench to turn the lockring tool counterclockwise to loosen the cassette.
- Once loose, carefully remove the cassette from the freehub body.
4. Removing the Chain
- Utilize a chain whip to secure the cassette in its position.
- Use an Allen key to loosen the chainring bolts and remove the chain from the chainrings.
Tips for Smooth Gear Set Removal
- Be sure to proceed at a deliberate pace and verify each step to minimize errors.
- Keep track of small components like washers and spacers to ensure they are reinstalled correctly.
- Apply grease to threaded parts before reassembly to prevent corrosion and ensure smooth operation.
Safety Precautions to Consider
- Wear protective gloves to prevent injuries from sharp edges or pinched fingers.
- Be mindful of delicate components like derailleur hangers and chainrings to avoid damage.
- Work in a well-ventilated area when using grease or lubricants.
Common Mistakes to Avoid
- Over-tightening bolts, which can strip threads or damage components.
- Forgetting to release tension on the chain before removing it, leading to difficulty or damage.
- Mixing up small components or forgetting their placement during reassembly.
Reinstalling the Gear Set
Once you’ve completed your maintenance or upgrades, it’s time to reinstall the gear set following the reverse order of removal. Make sure to tighten bolts to the manufacturer’s specifications and test the gears for smooth operation.
Testing Your Gear Set Installation
Before hitting the road, shift through all the gears to ensure they engage smoothly and without hesitation. Check for any unusual noises or skipping, indicating a misalignment or issue with the installation.
Conclusion
Removing the gear set from your bicycle may seem intimidating at first, but with the right tools and knowledge, it’s a manageable task. By following this step-by-step guide and exercising caution, you can successfully remove bicycle gear set and reinstall your bicycle’s gear set, ensuring optimal performance and longevity.
FAQs
Can we remove gear from cycle?
Yes, gears can be removed from a bicycle for various reasons such as maintenance, replacement, or upgrading components.
How do you remove a bike cassette?
To remove a bike cassette, you’ll need to use a cassette lockring tool and a chain whip. First, insert the cassette lockring tool into the lockring on the cassette. Then, use an adjustable wrench to turn the lockring tool counterclockwise to loosen the cassette. Once loose, carefully remove the cassette from the freehub body.
Which gear do you take to remove a bike wheel?
To remove a bike wheel, you typically need to shift the gears to the smallest cog on the rear cassette. This makes it easier to disengage the wheel from the frame without interference from the chain or derailleur.
How do you remove a freewheel gear?
Removing a freewheel gear requires a freewheel remover tool. First, remove the axle nuts or quick-release skewer from the wheel. Then, insert the freewheel remover tool into the freewheel and use a wrench to turn it counterclockwise to loosen and remove the freewheel from the hub.


